How to use Ownbit Cold Wallet
This article describes how to use Ownbit cold wallet. The Ownbit Cold Wallet feature turns your (old or unsed) phone into a hardware wallet. This allows you to keep your cryptos absolutely safe without having to buy additional hardware wallets.
Preparations: Prepare two mobile phones and download the latest version of Ownbit App respectively. Then, make one of them permanently offline (removing the SIM card, deleting the WIFI information). It becomes the cold wallet. The other phone is online, as a Watch Wallet. And the online phone can be your daily use phone.
Content
2. Create Watch Wallet and add coins
1. Create Cold wallet
On the Cold wallet side (make sure the phone is offline permanently), click "Create Wallet" (if you already have a mnemonic phrase, you can choose "Import Wallet"):
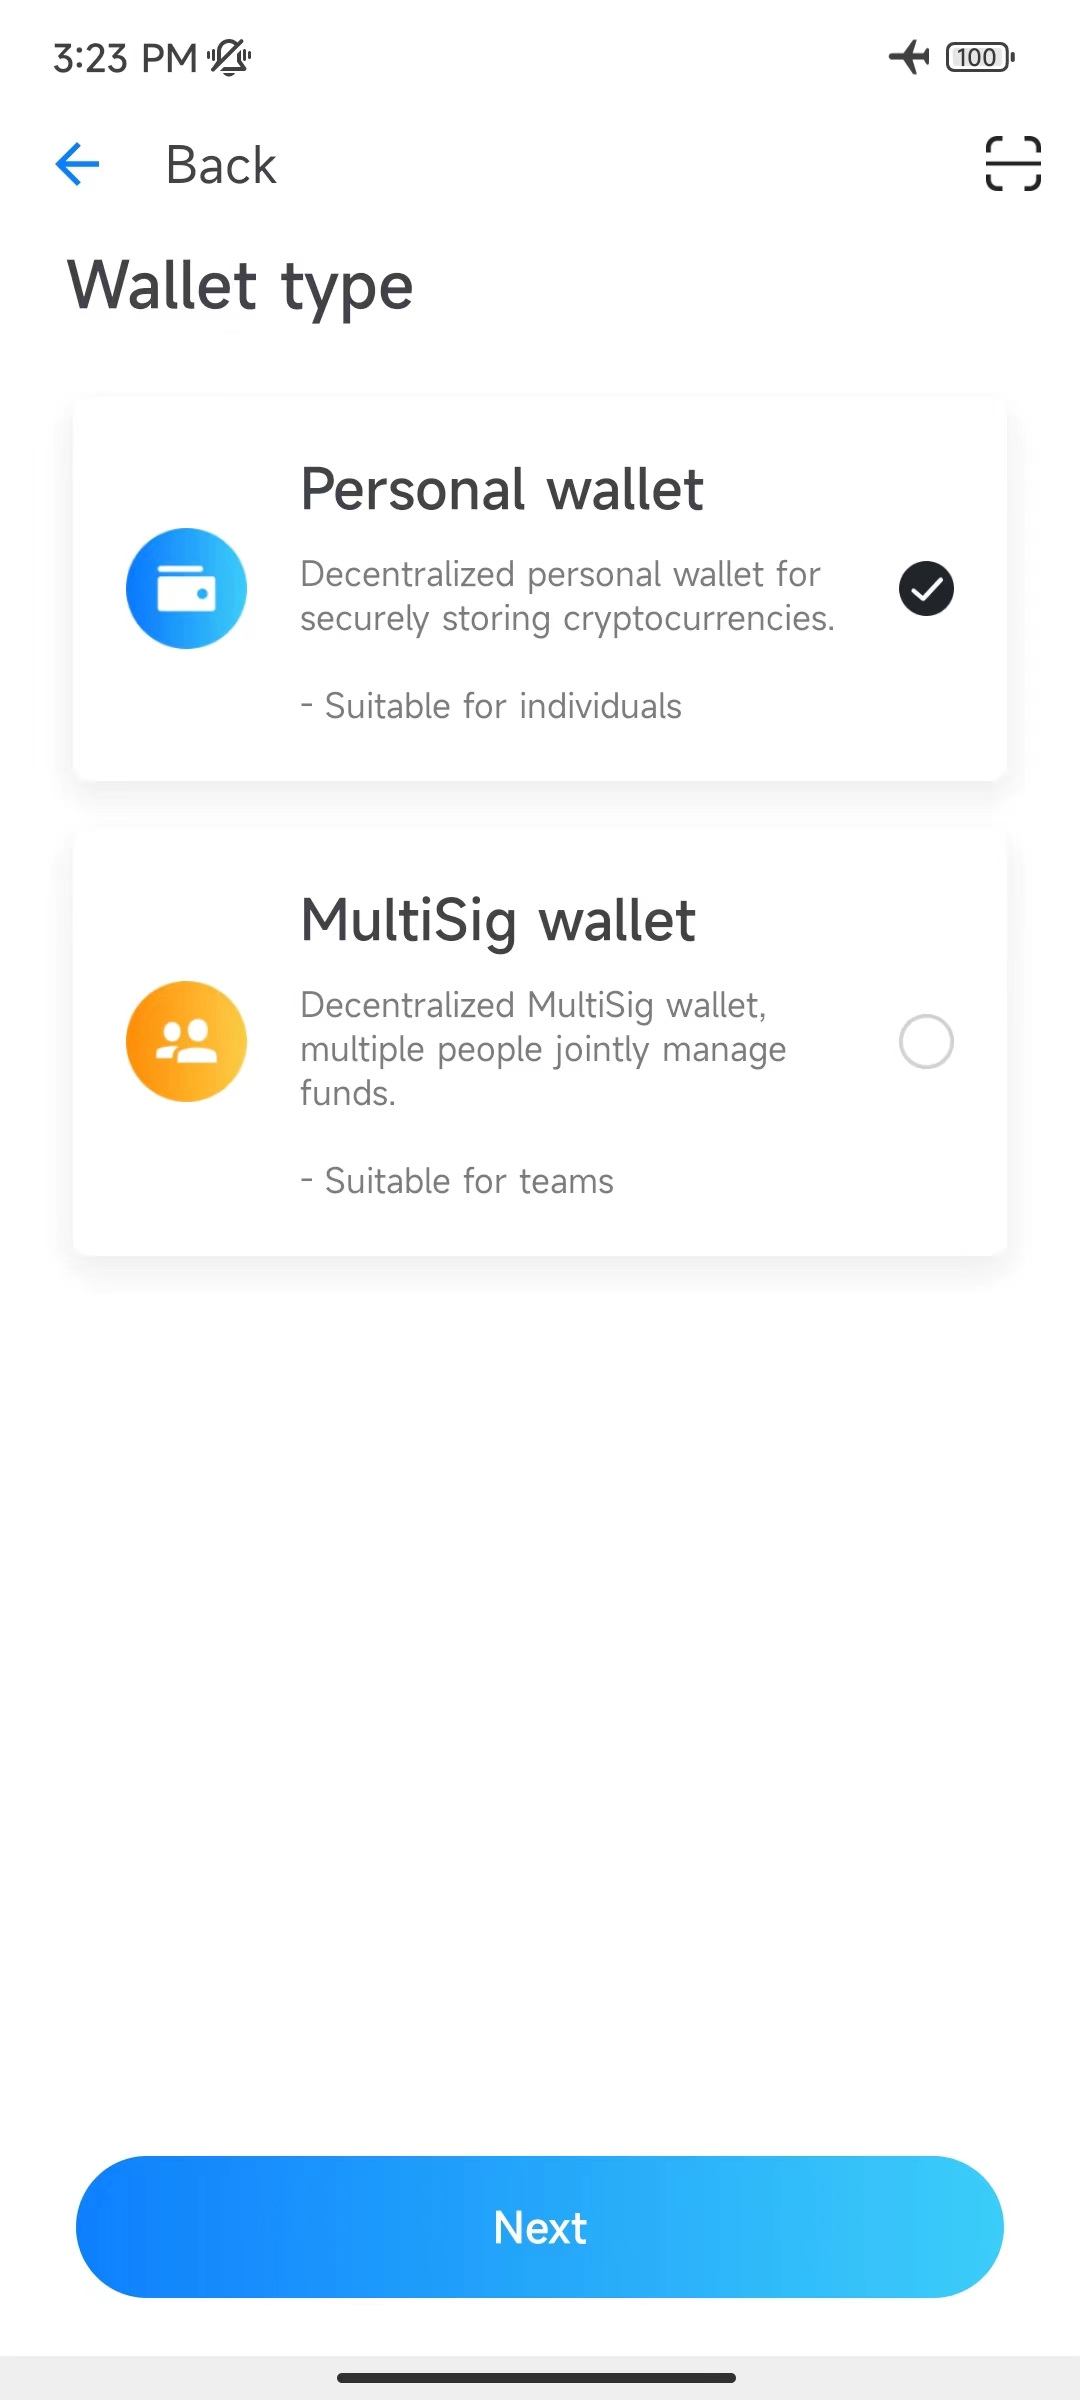
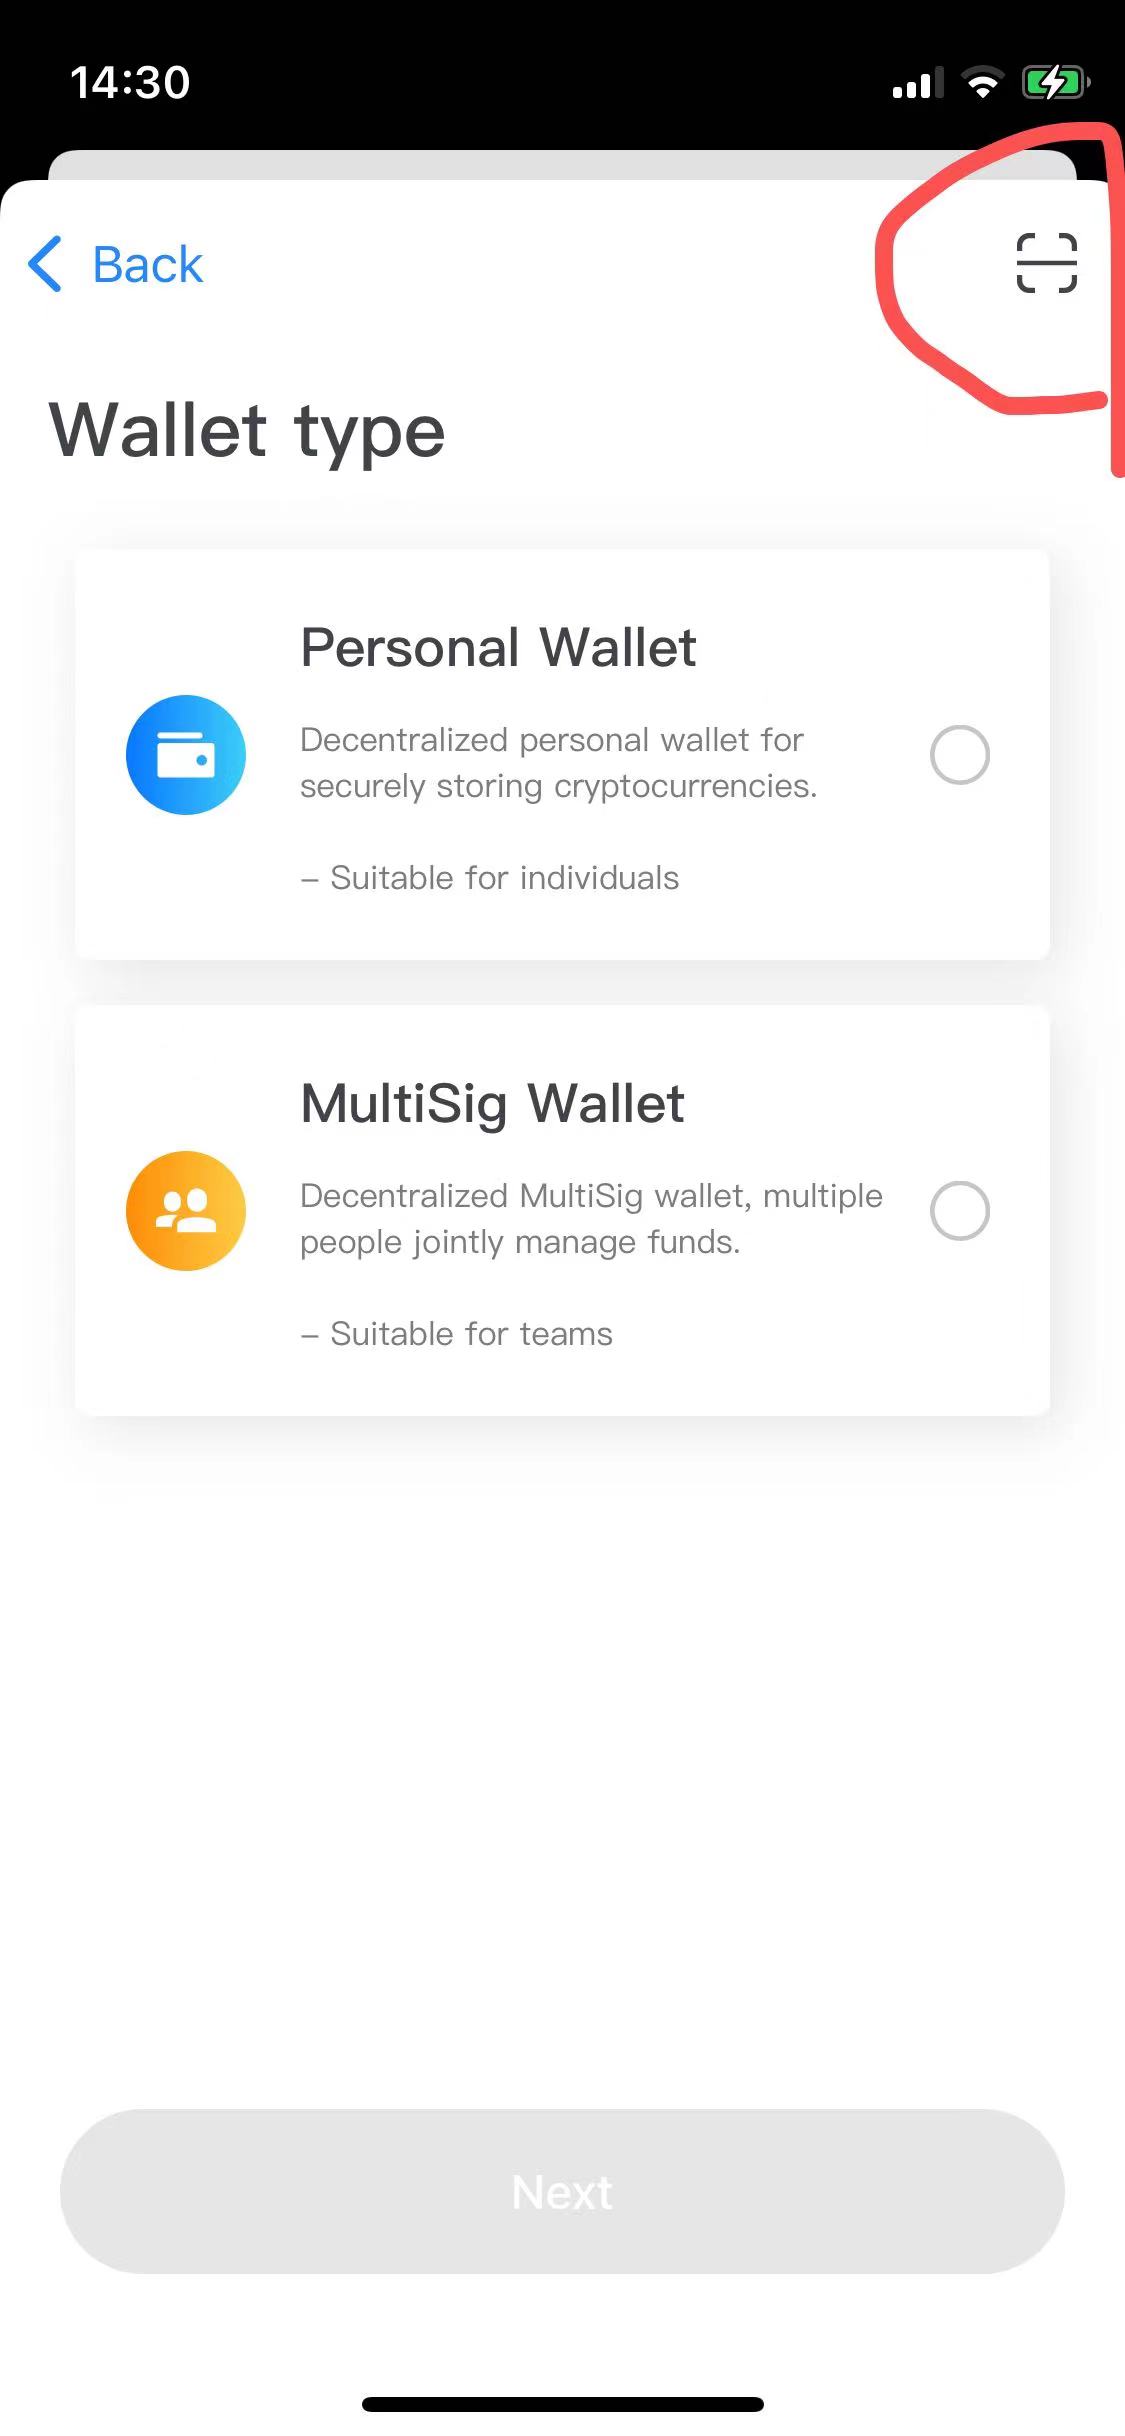
Select "Personal Wallet" (if you create a multi-signature cold wallet, you can select "MultiSig wallet").
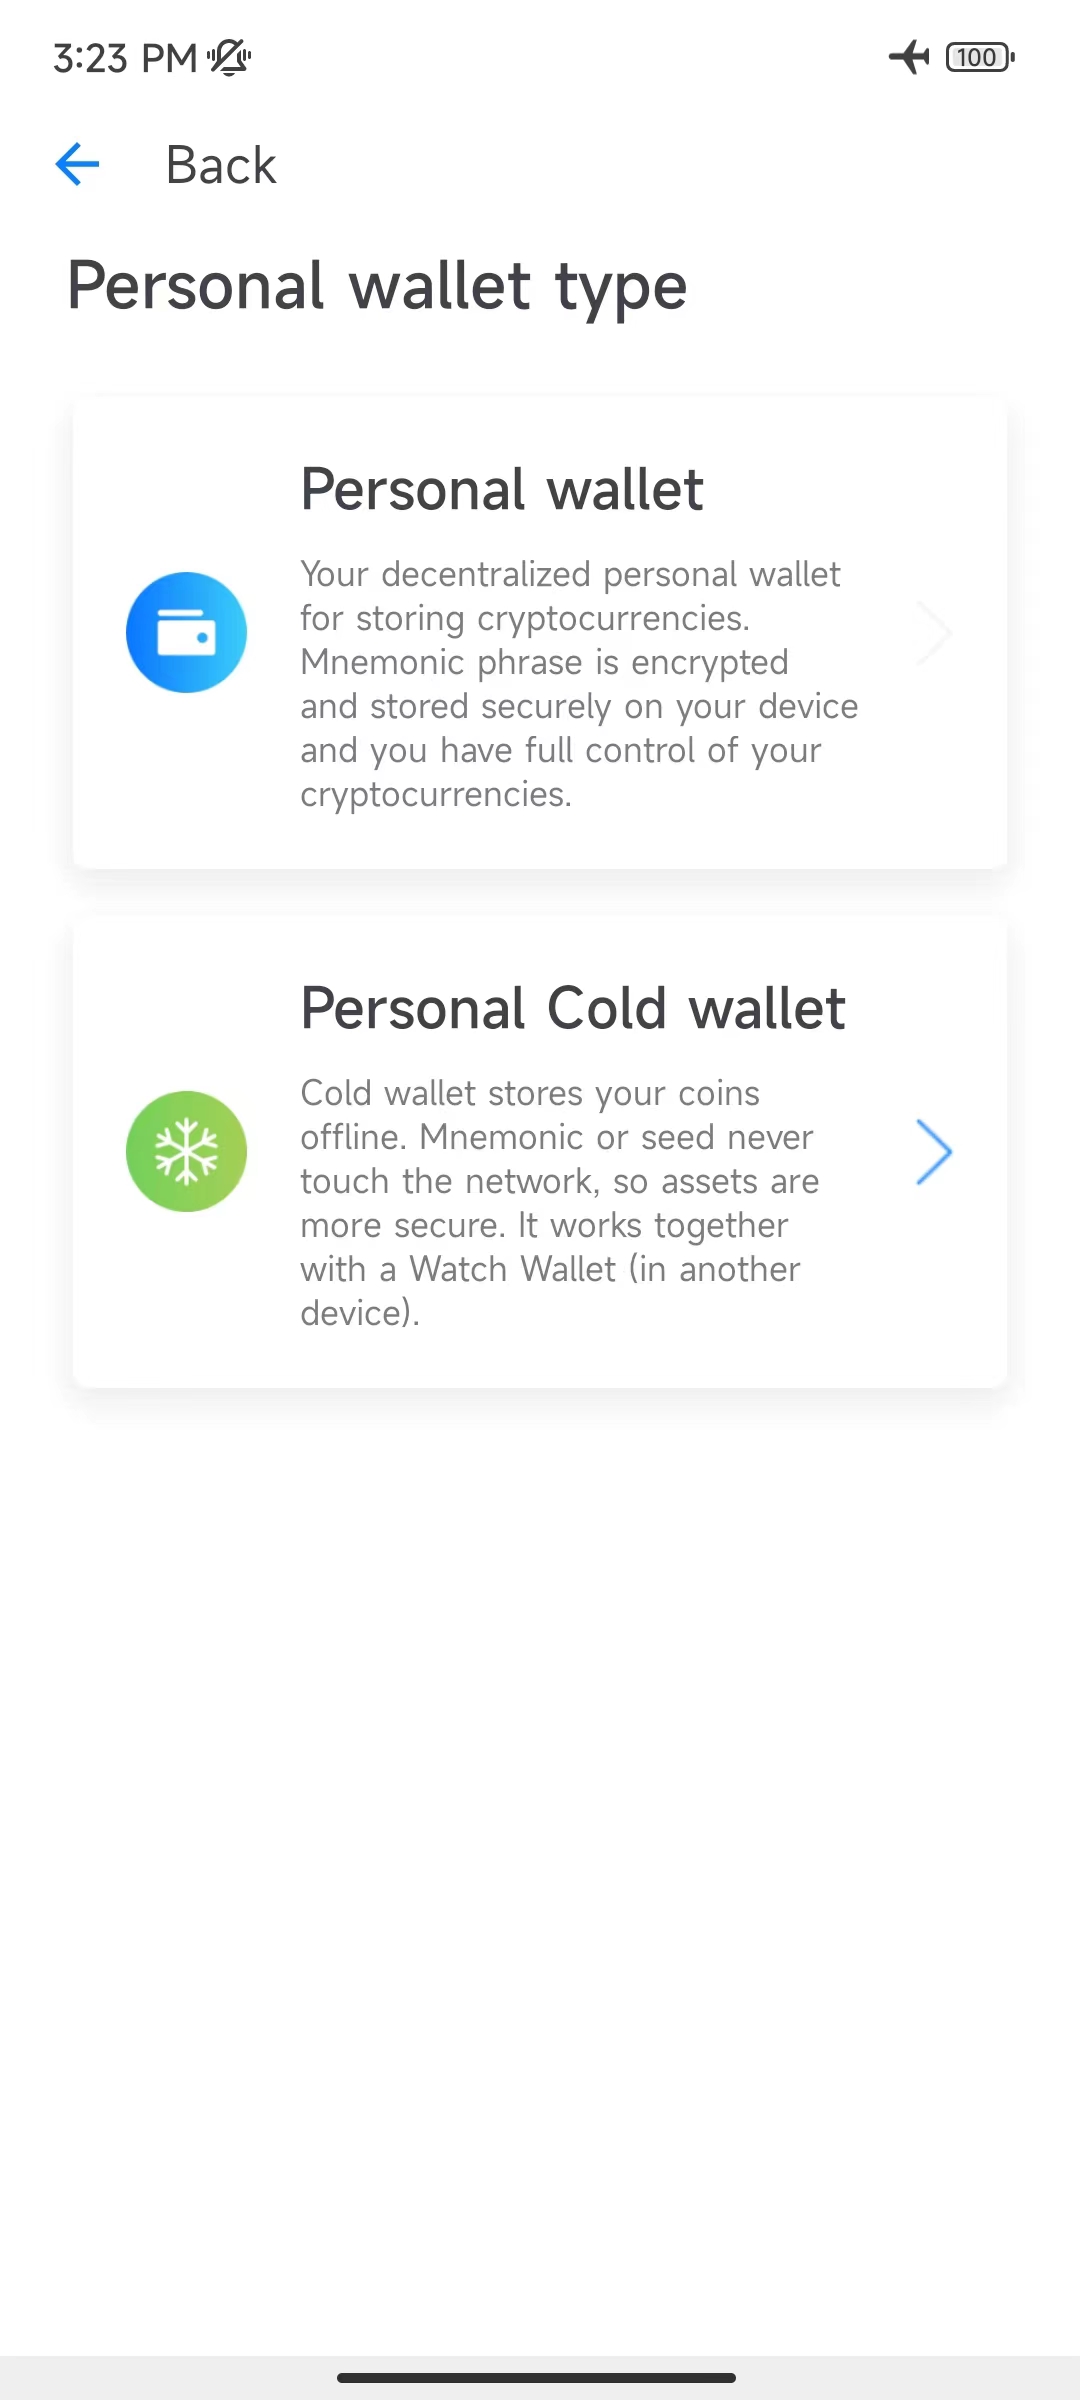
Choose Cold wallet.
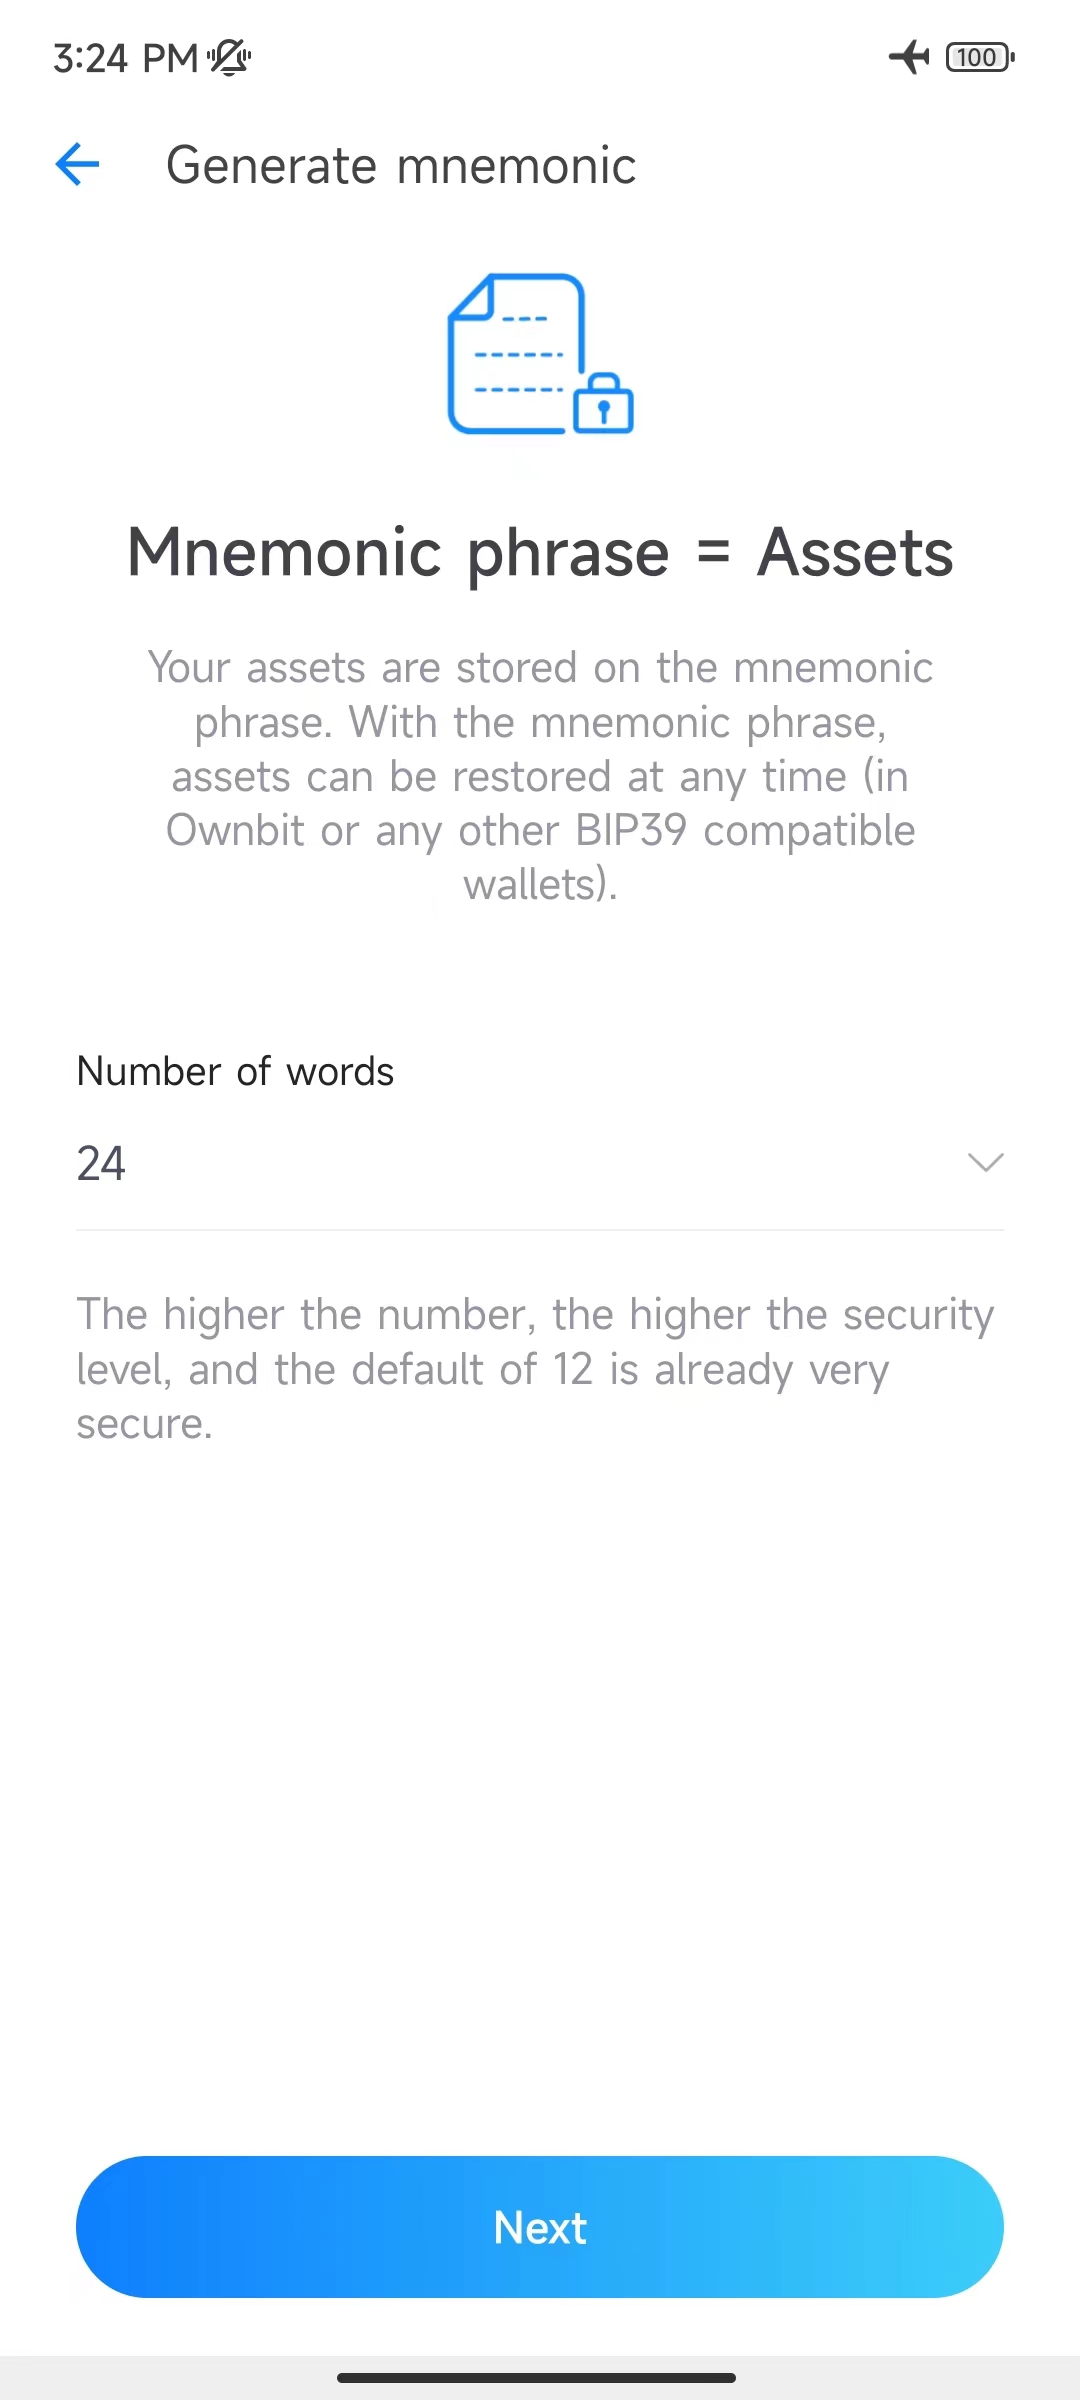
Choose the number of mnemonics, 12 or 24.
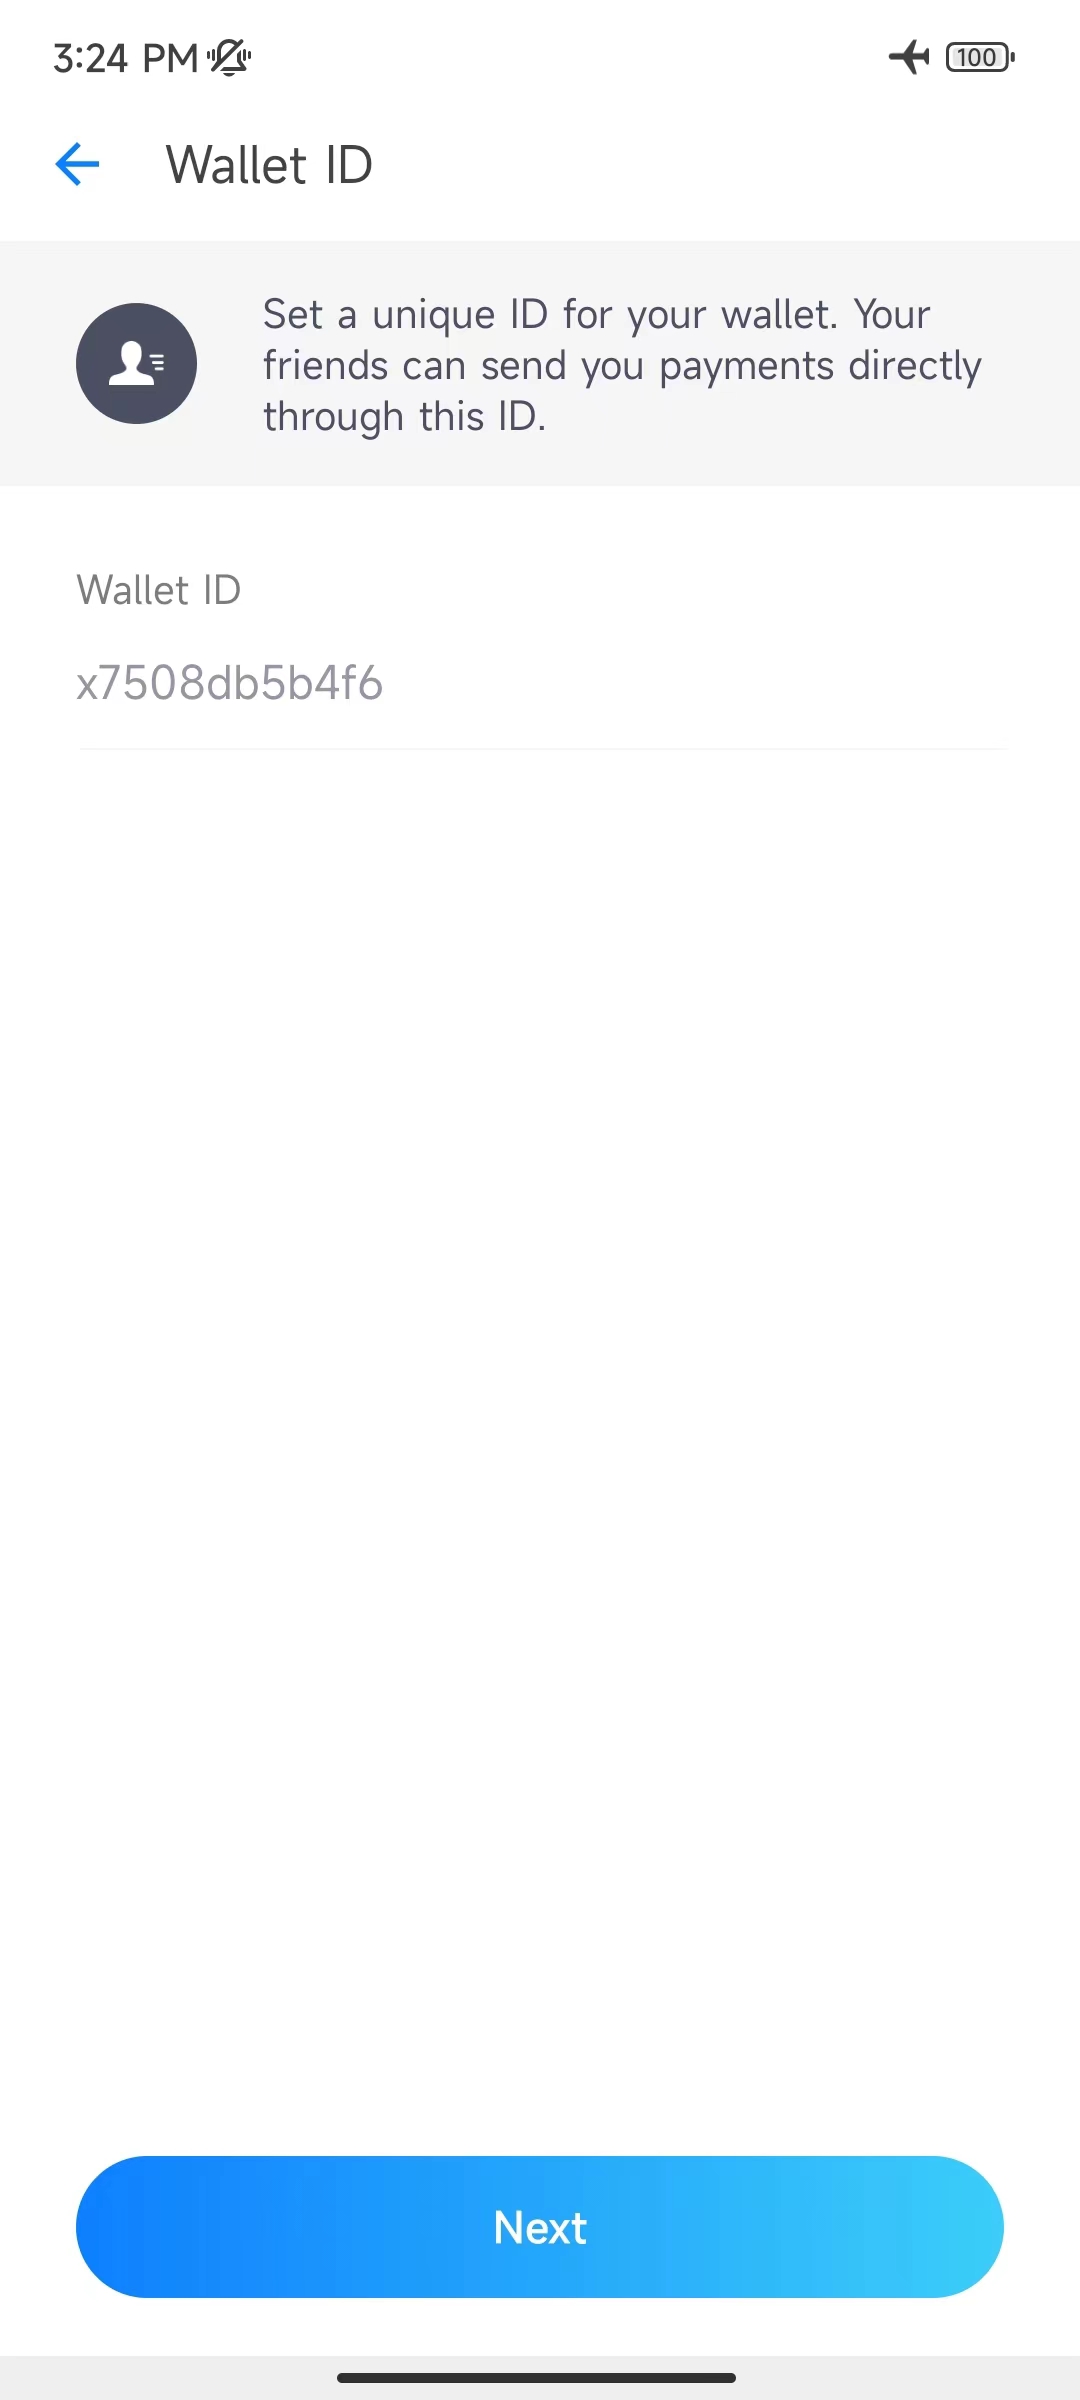
Cold wallet ID automatically generated.
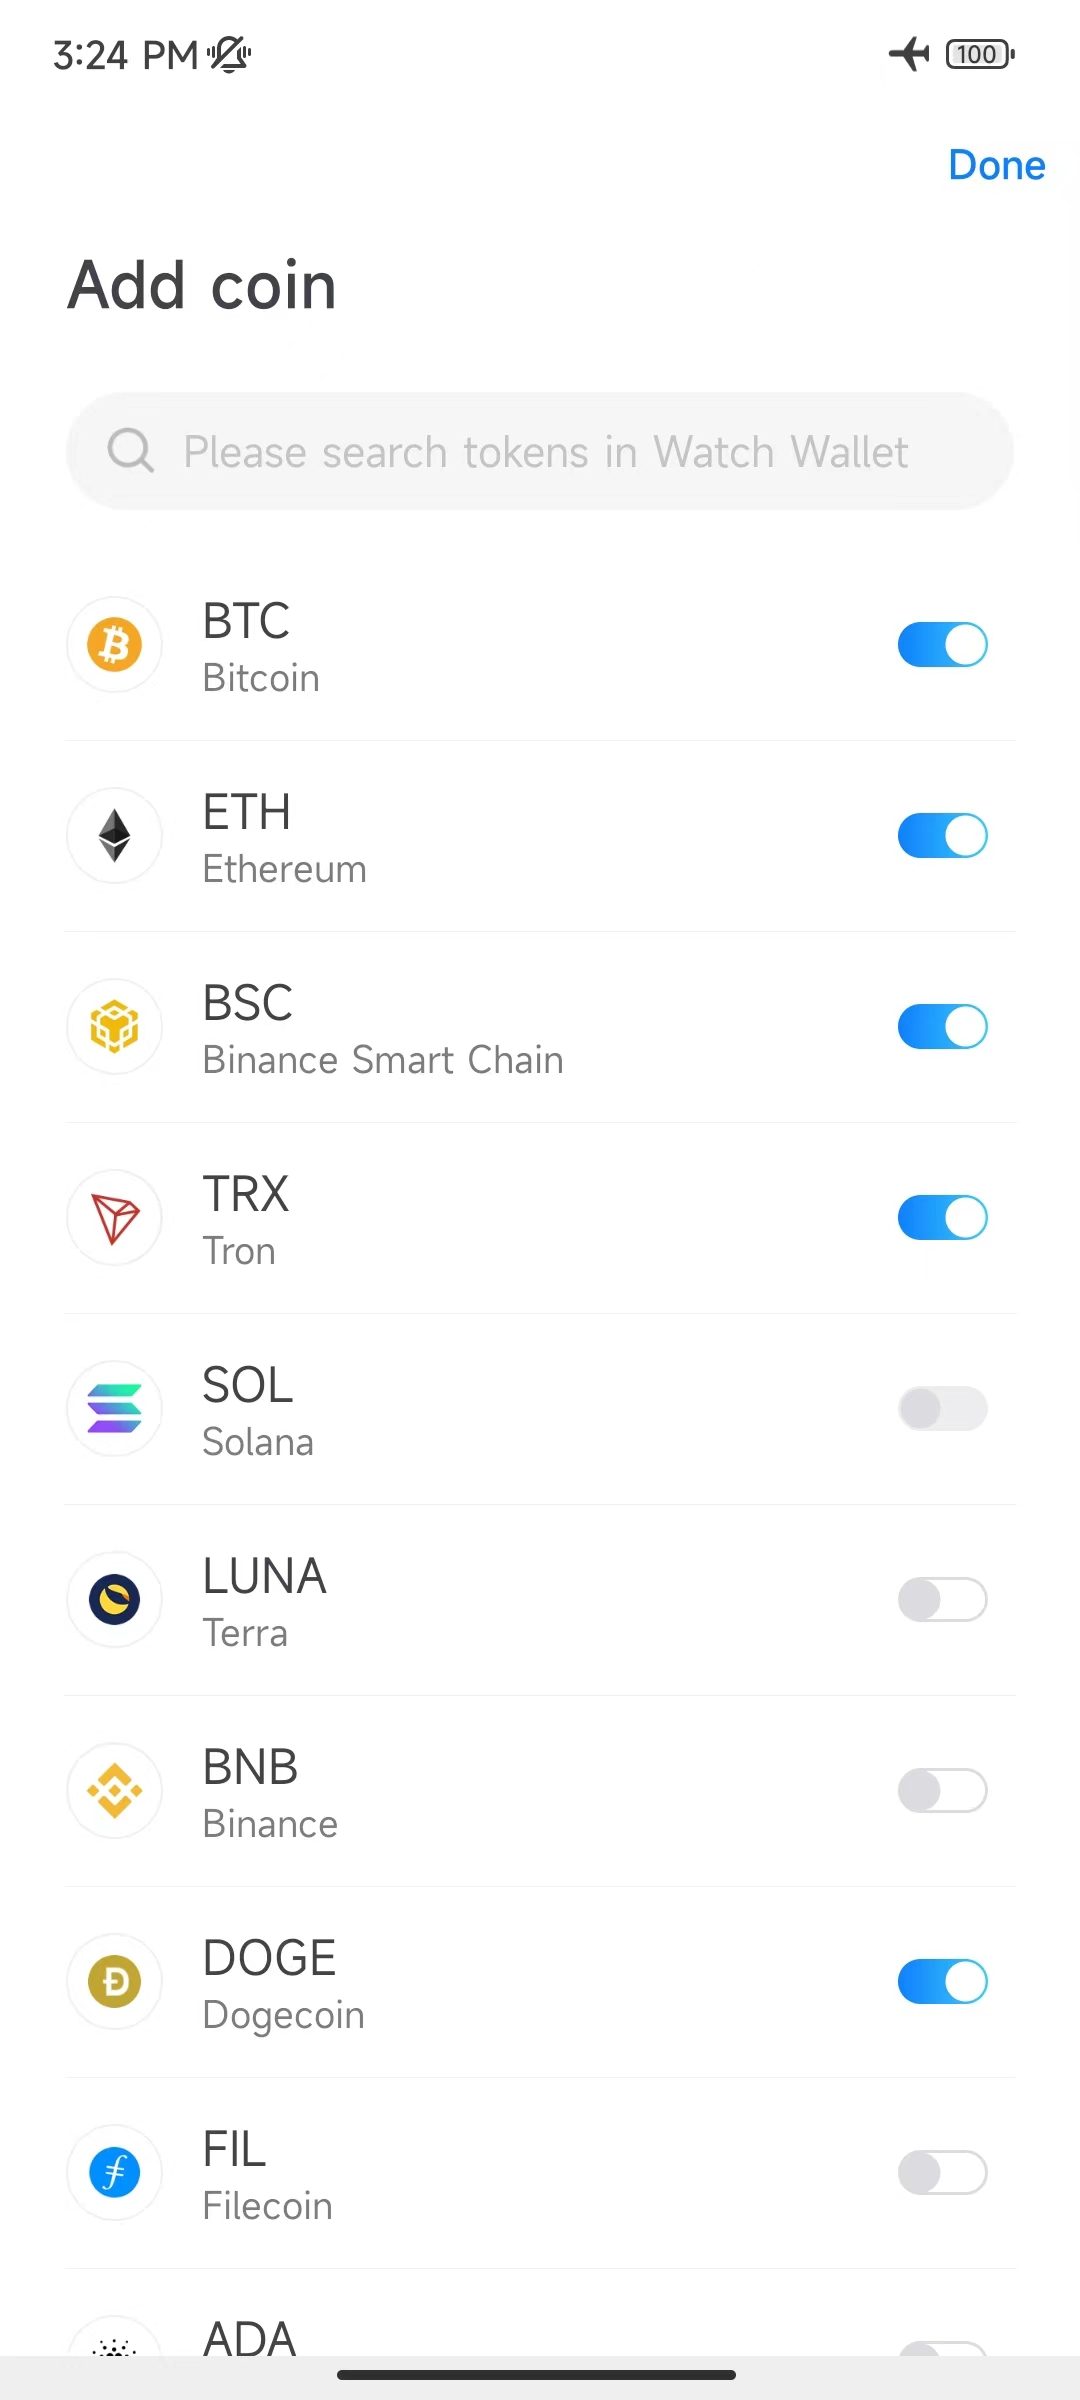
Open the corresponding coins (only the mainnet coin needs to be opened on the side of the Cold wallet, tokens such as ERC20/TRC20 are added on the side of the Watch Wallet).
Tip: Some coins are grayed out and cannot be opened, which means that the coin does not support the cold wallet function yet.
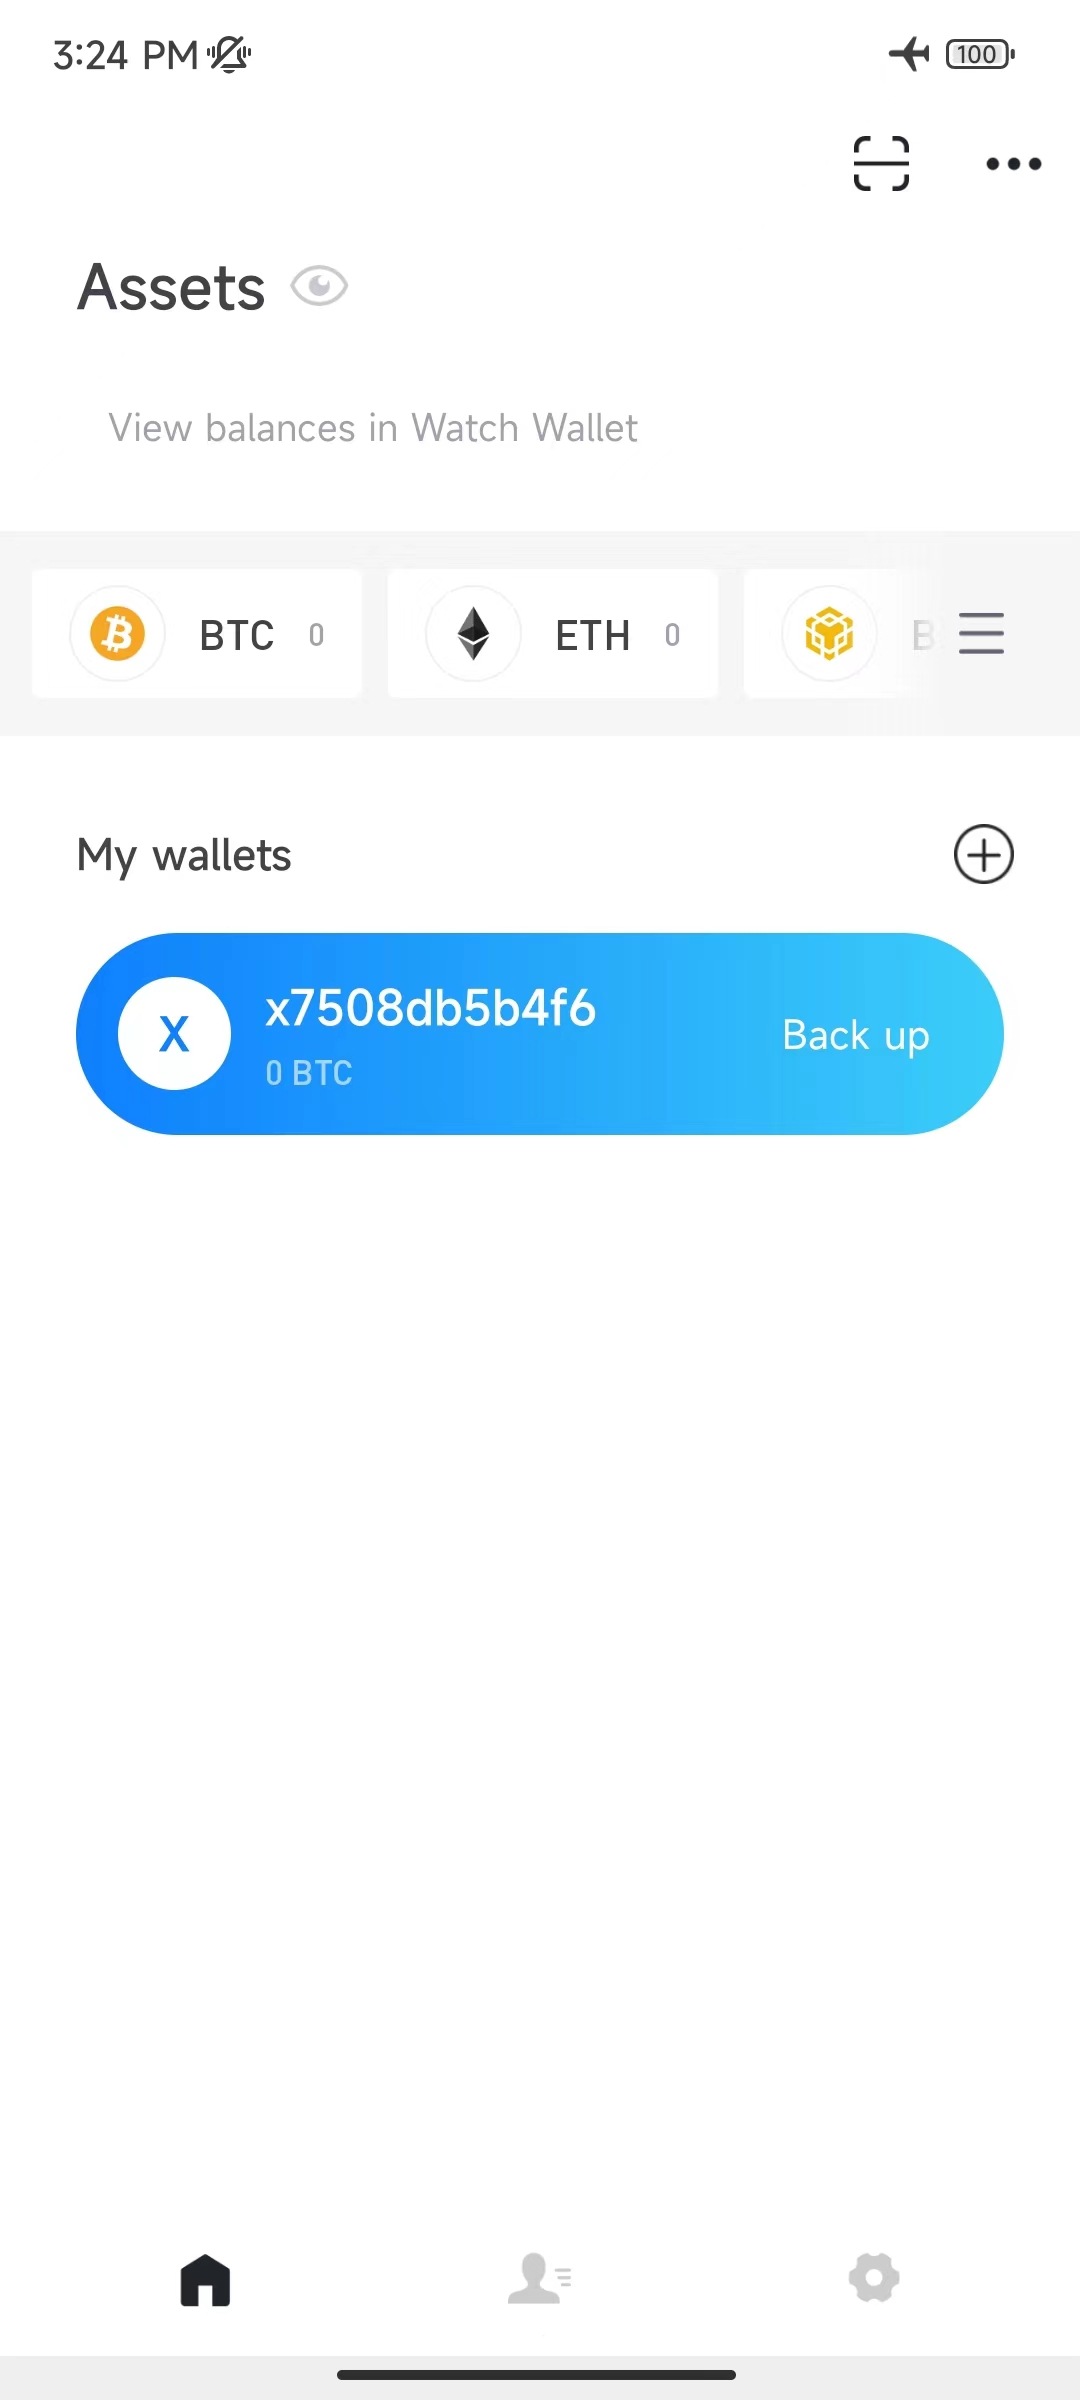
Now, the Cold wallet is created, and you can enter its homepage. (Note: Please back up the mnemonic phrase of the Cold wallet, otherwise once the wallet is lost, the assets will never be recovered! On the contrary, with the mnemonic, the assets can be recovered at any time.)
2. Create Watch Wallet and add coins
In the cold wallet side, click the blue wallet bar to enter the wallet home page, as shown below:
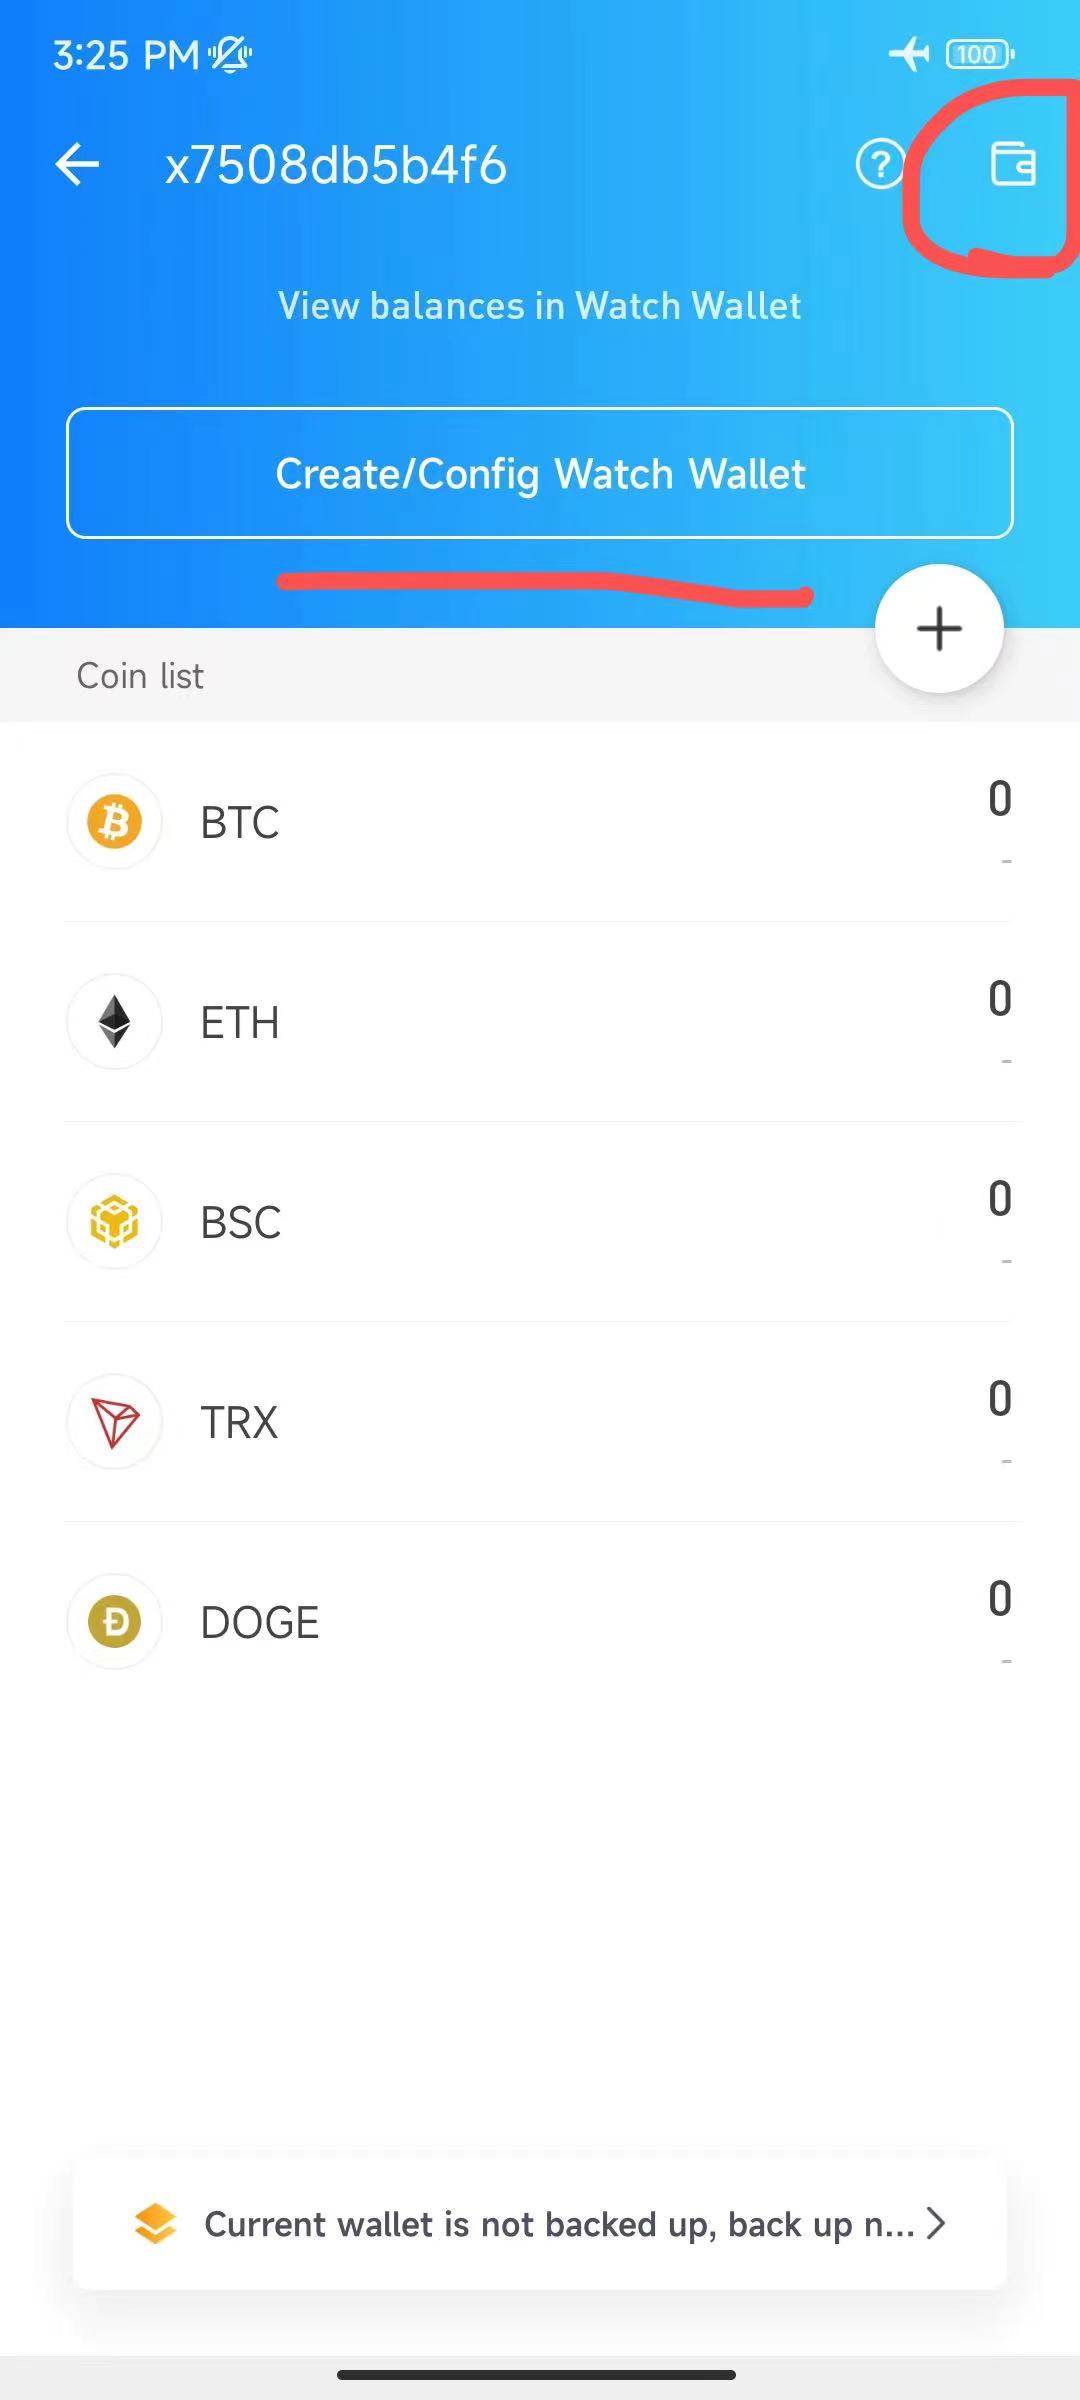
Click the "Create/Configure Watch Wallet" button in the image above (in iOS, click the wallet management icon in the upper right corner, and click the "Create/Configure Watch Wallet" link on the next page) to display the QR code for creating a Watch Wallet:
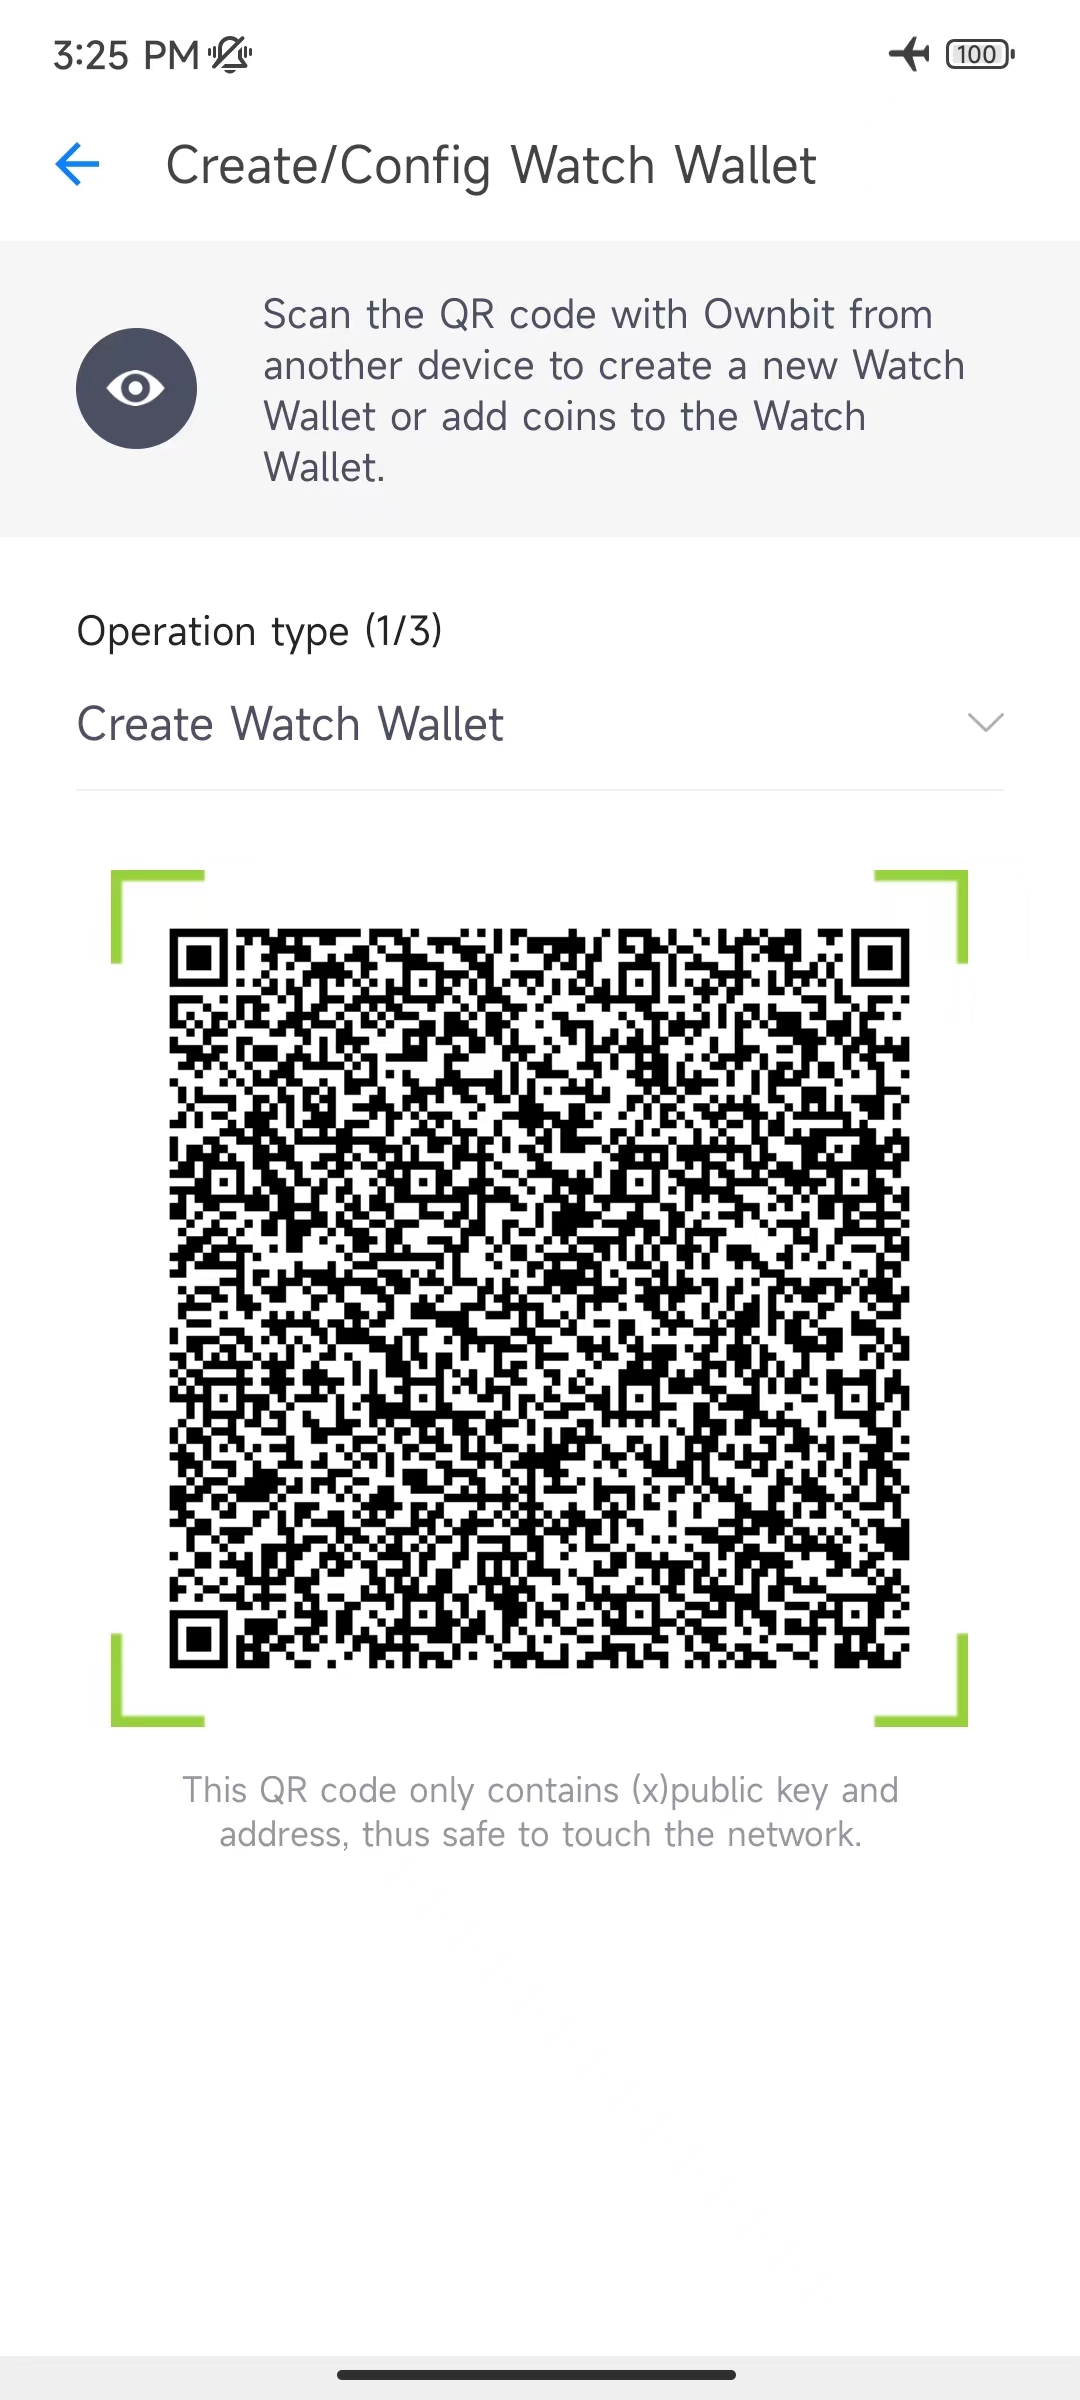
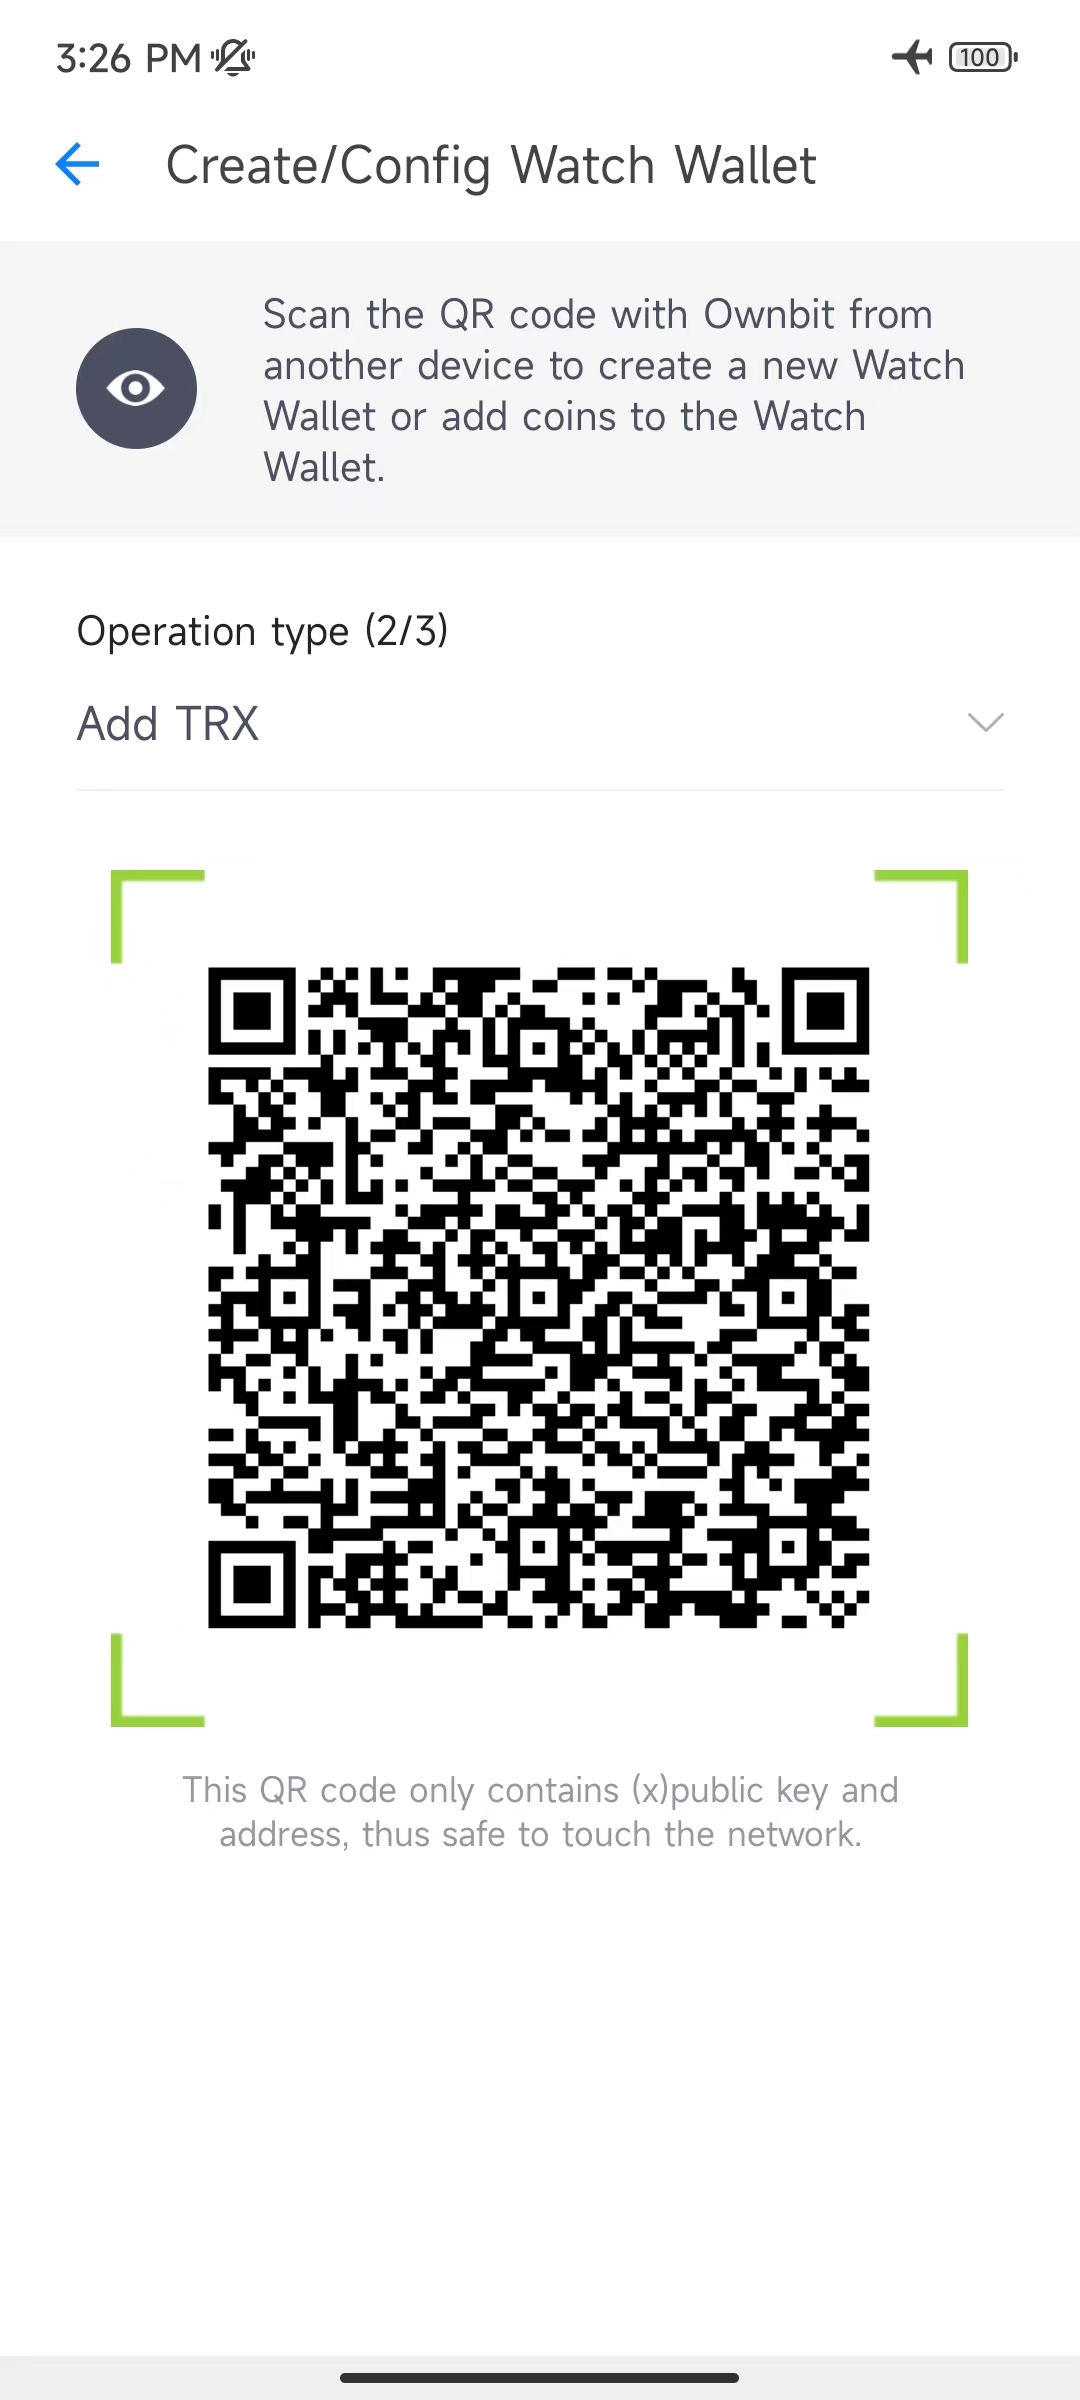
By selecting different Operation type, you can choose to add different coins, as shown in the example below (example, you can choose to add TRX mainnet coin):
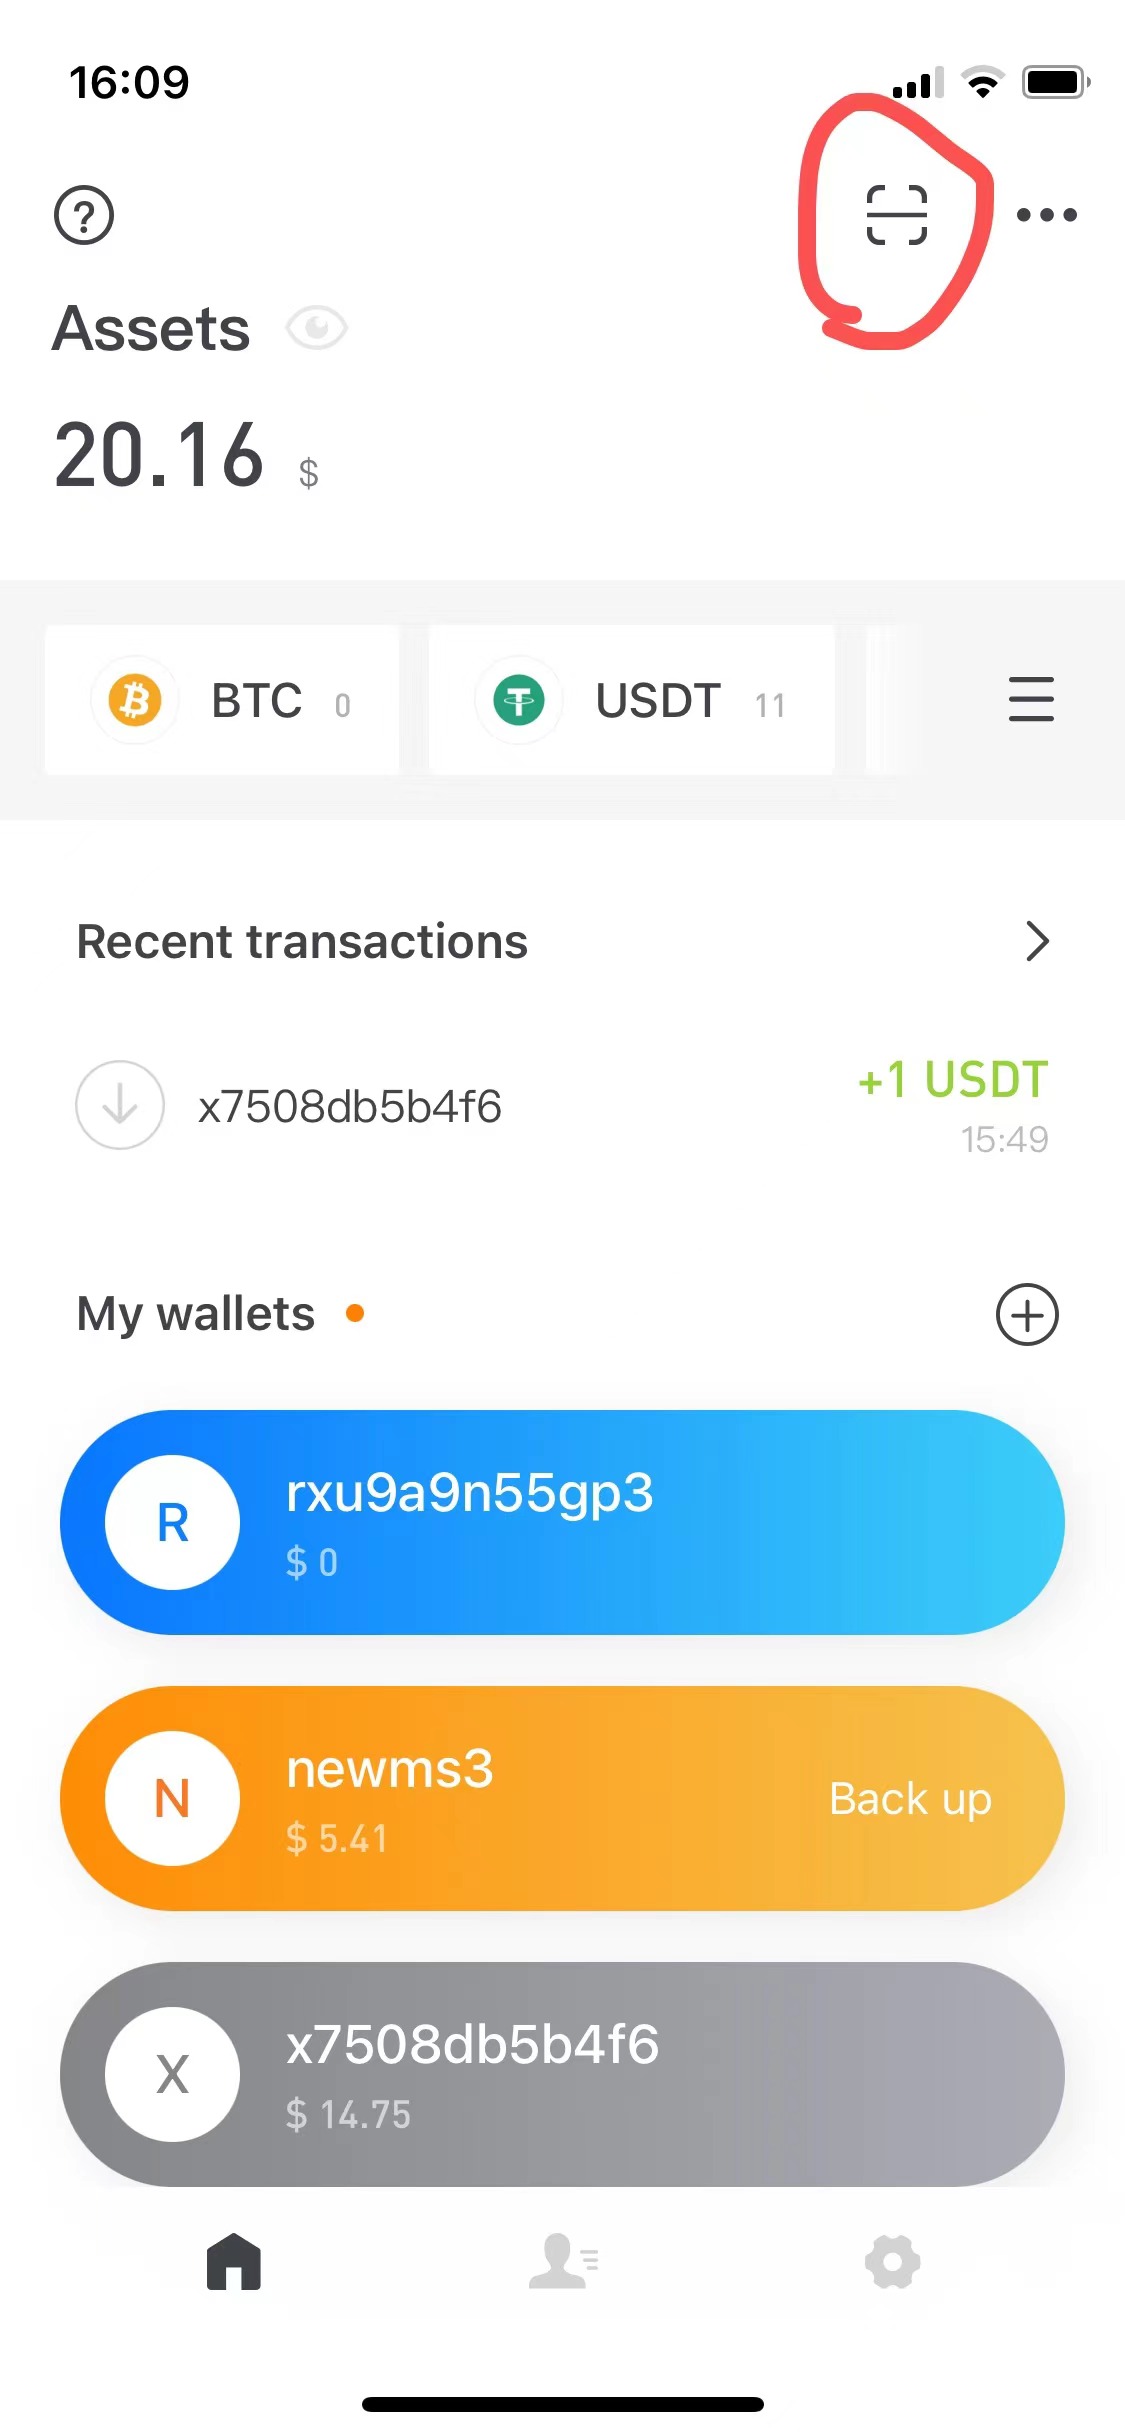
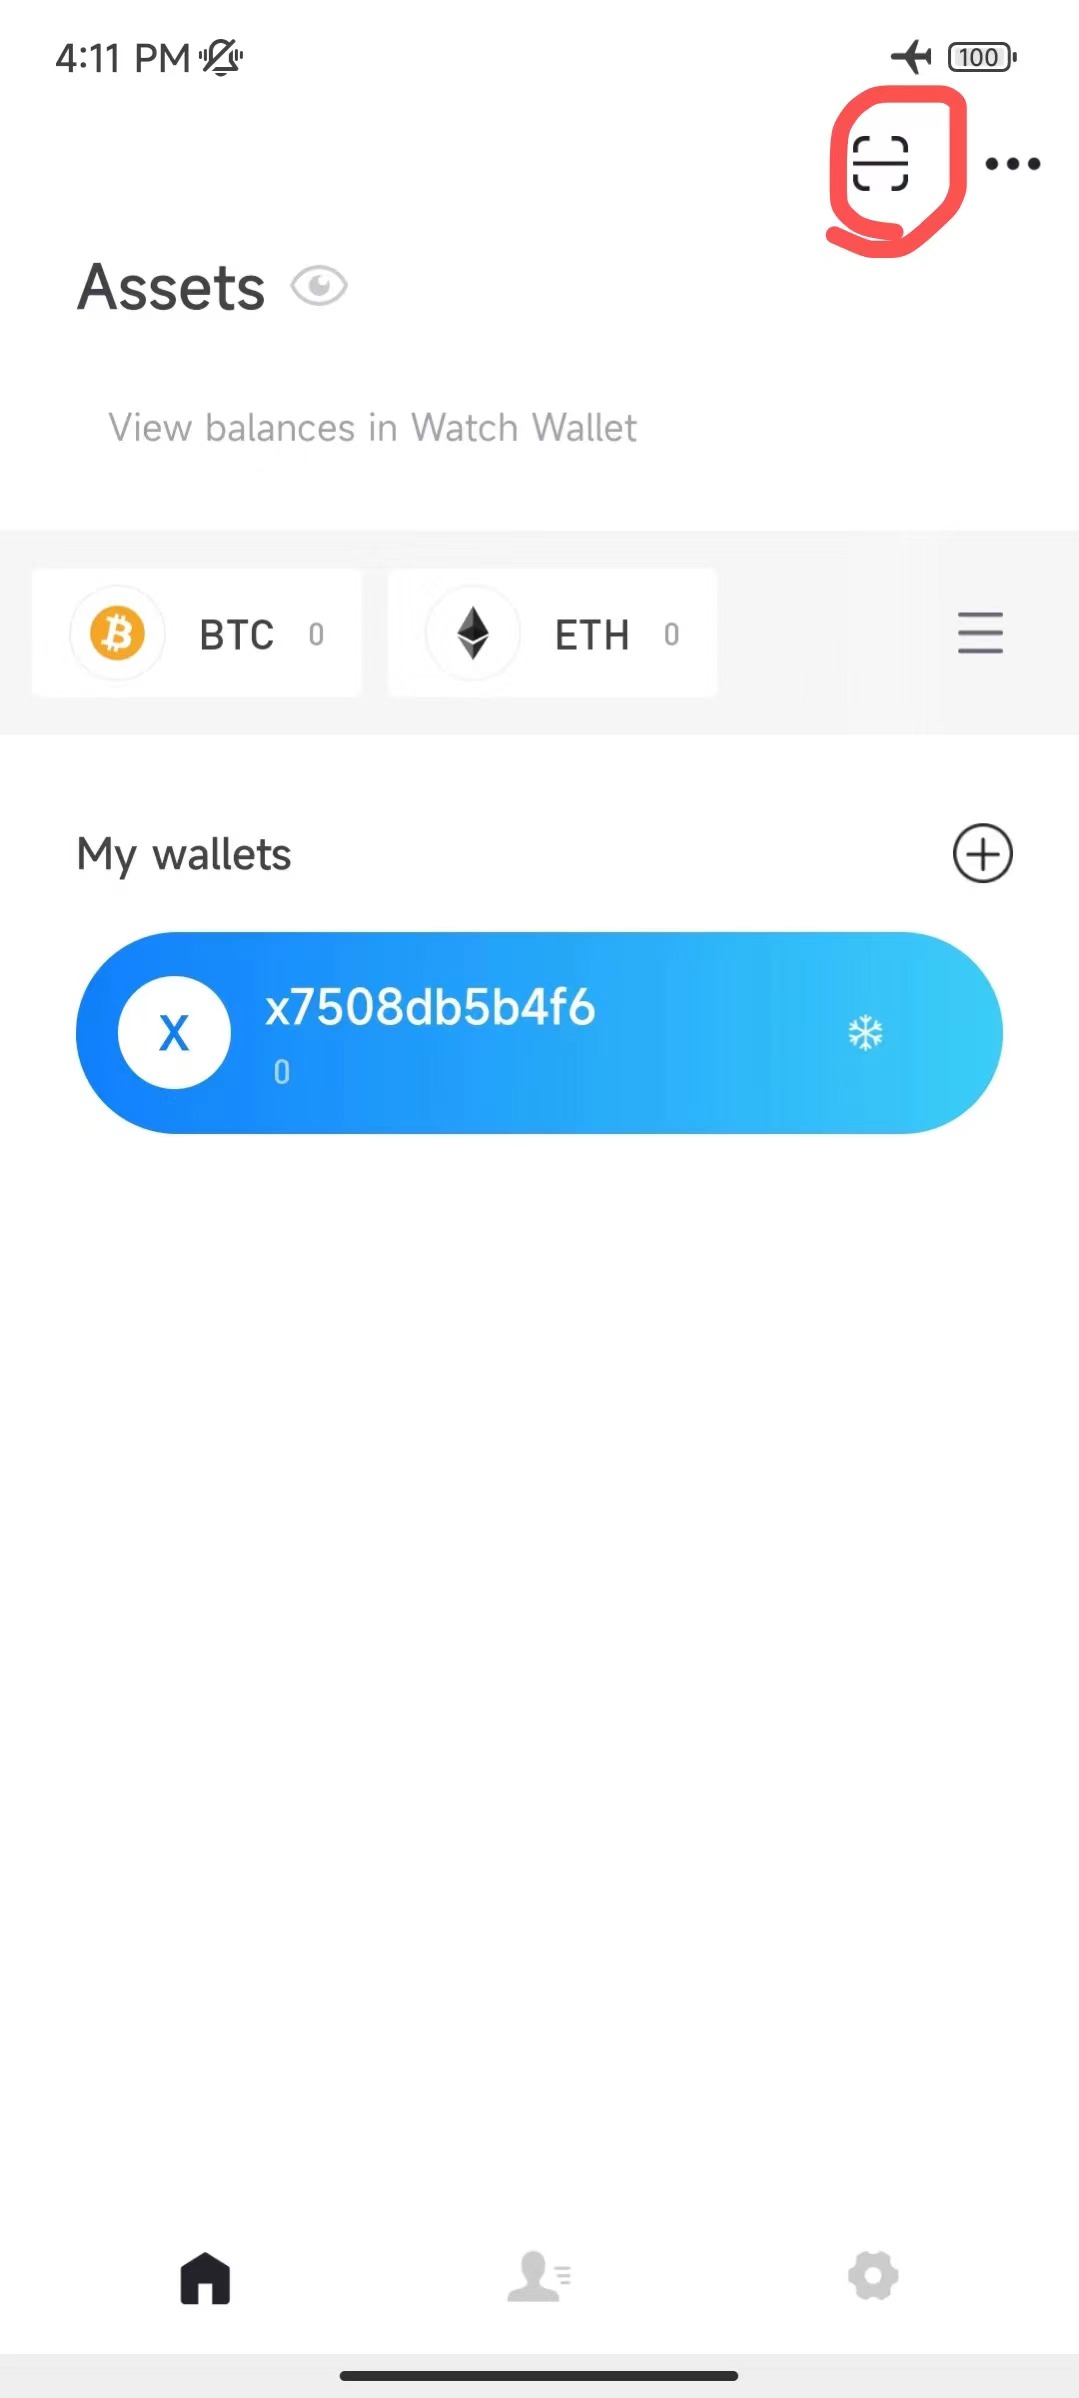
On the phone side of the Watch Wallet (the online phone), scan the above QR codes respectively to create the corresponding Watch Wallet and add the corresponding mainnet coins. (The scan button can be found in the red circle in the images below.) After scanning, the Watch Wallet is shown:
Enter the homepage of the Watch Wallet, and you can receive coins and tokens now, as shown in the figure below (Note: Both Cold wallet and Watch Wallet can view receive addresses, and they are the same):
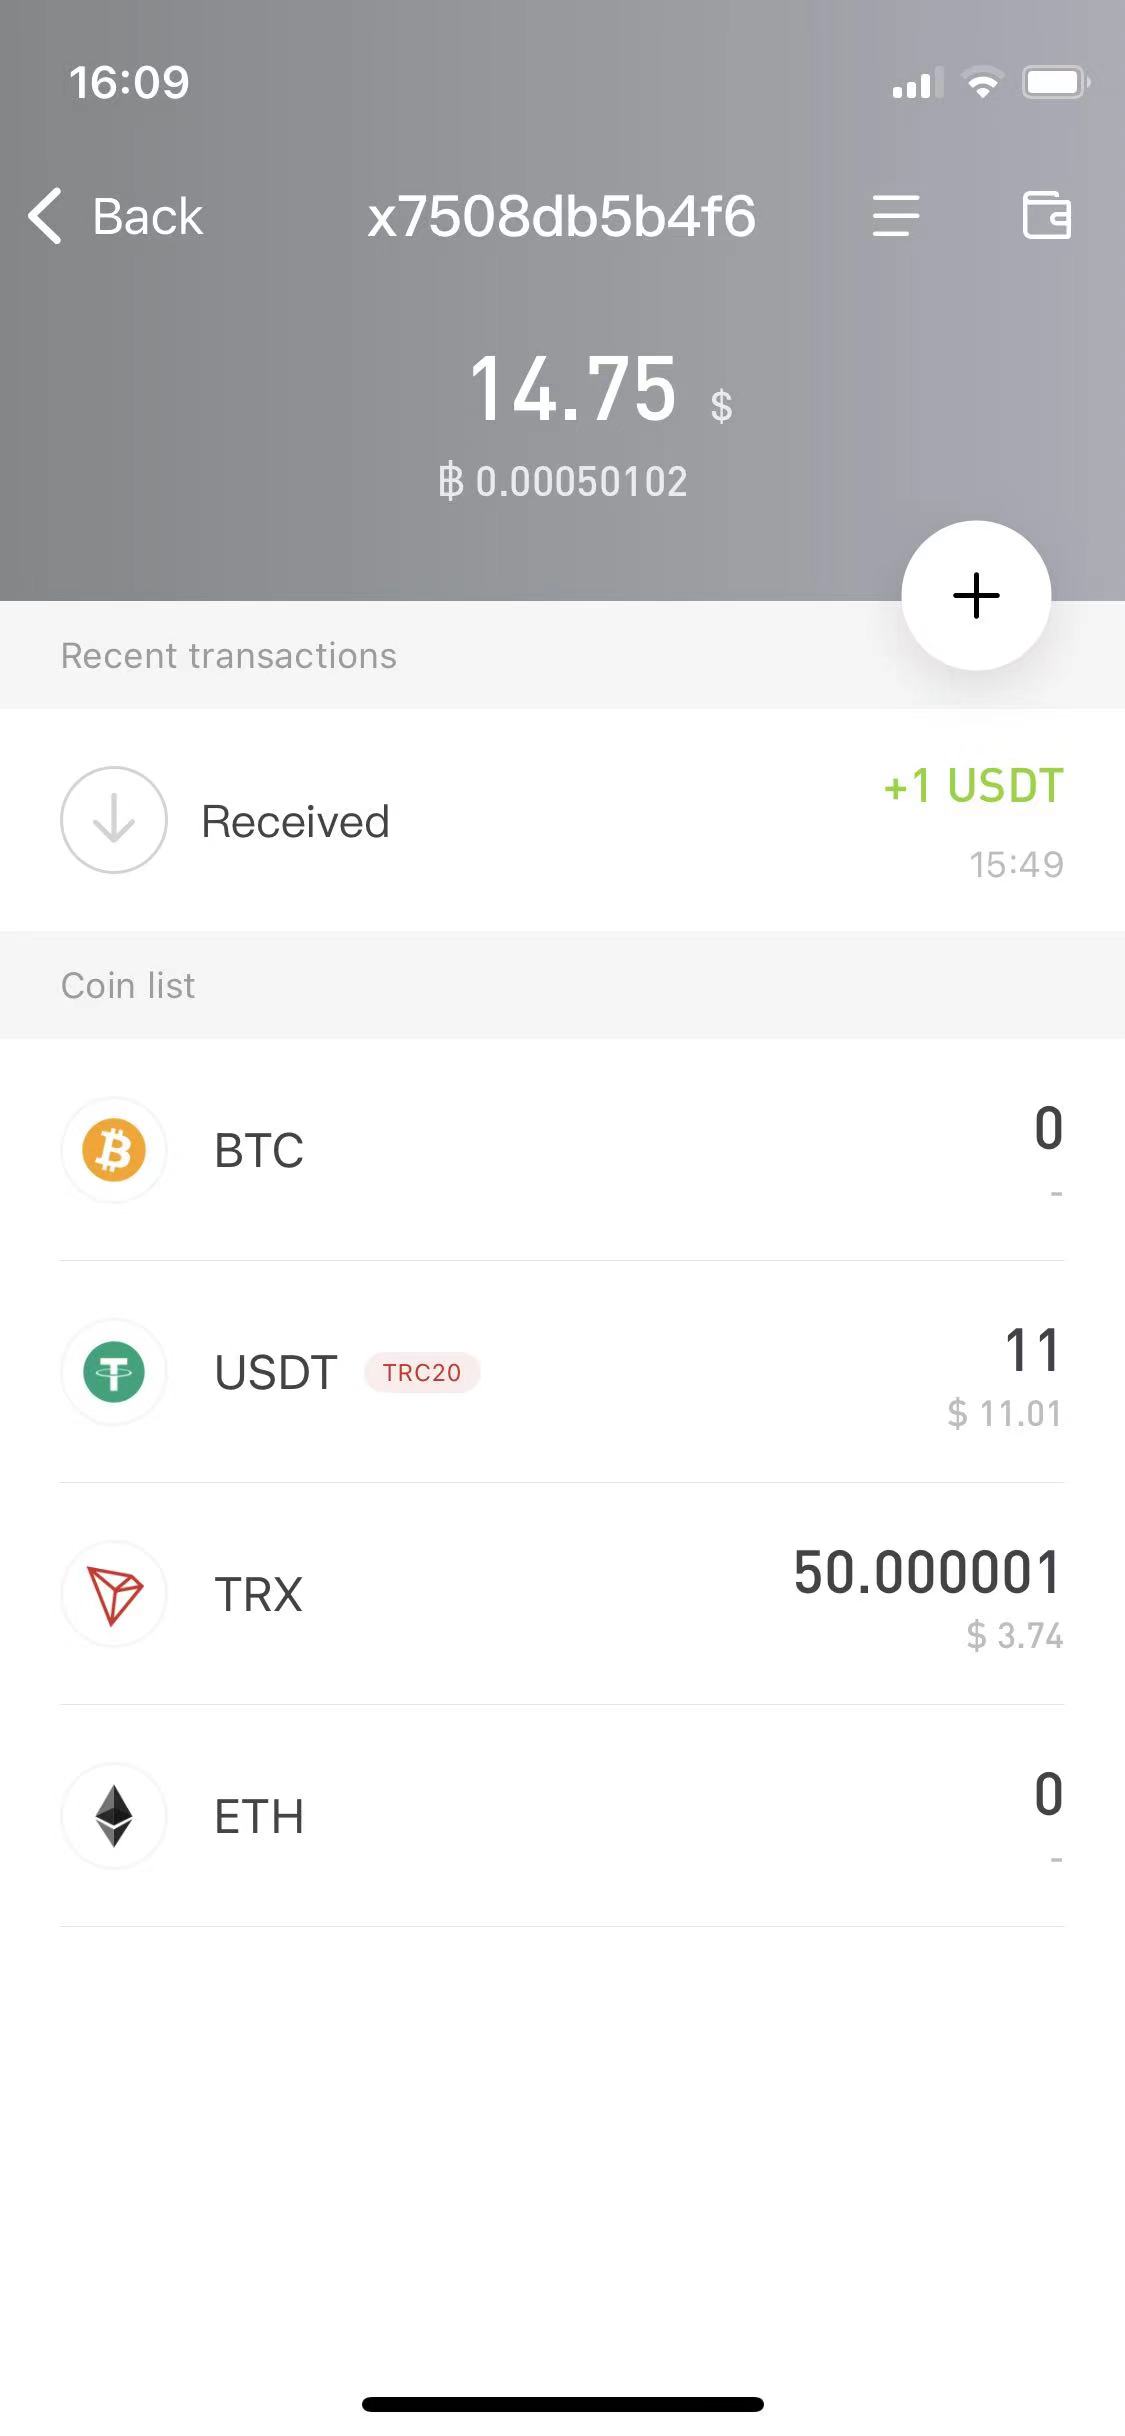
3. Send transactions
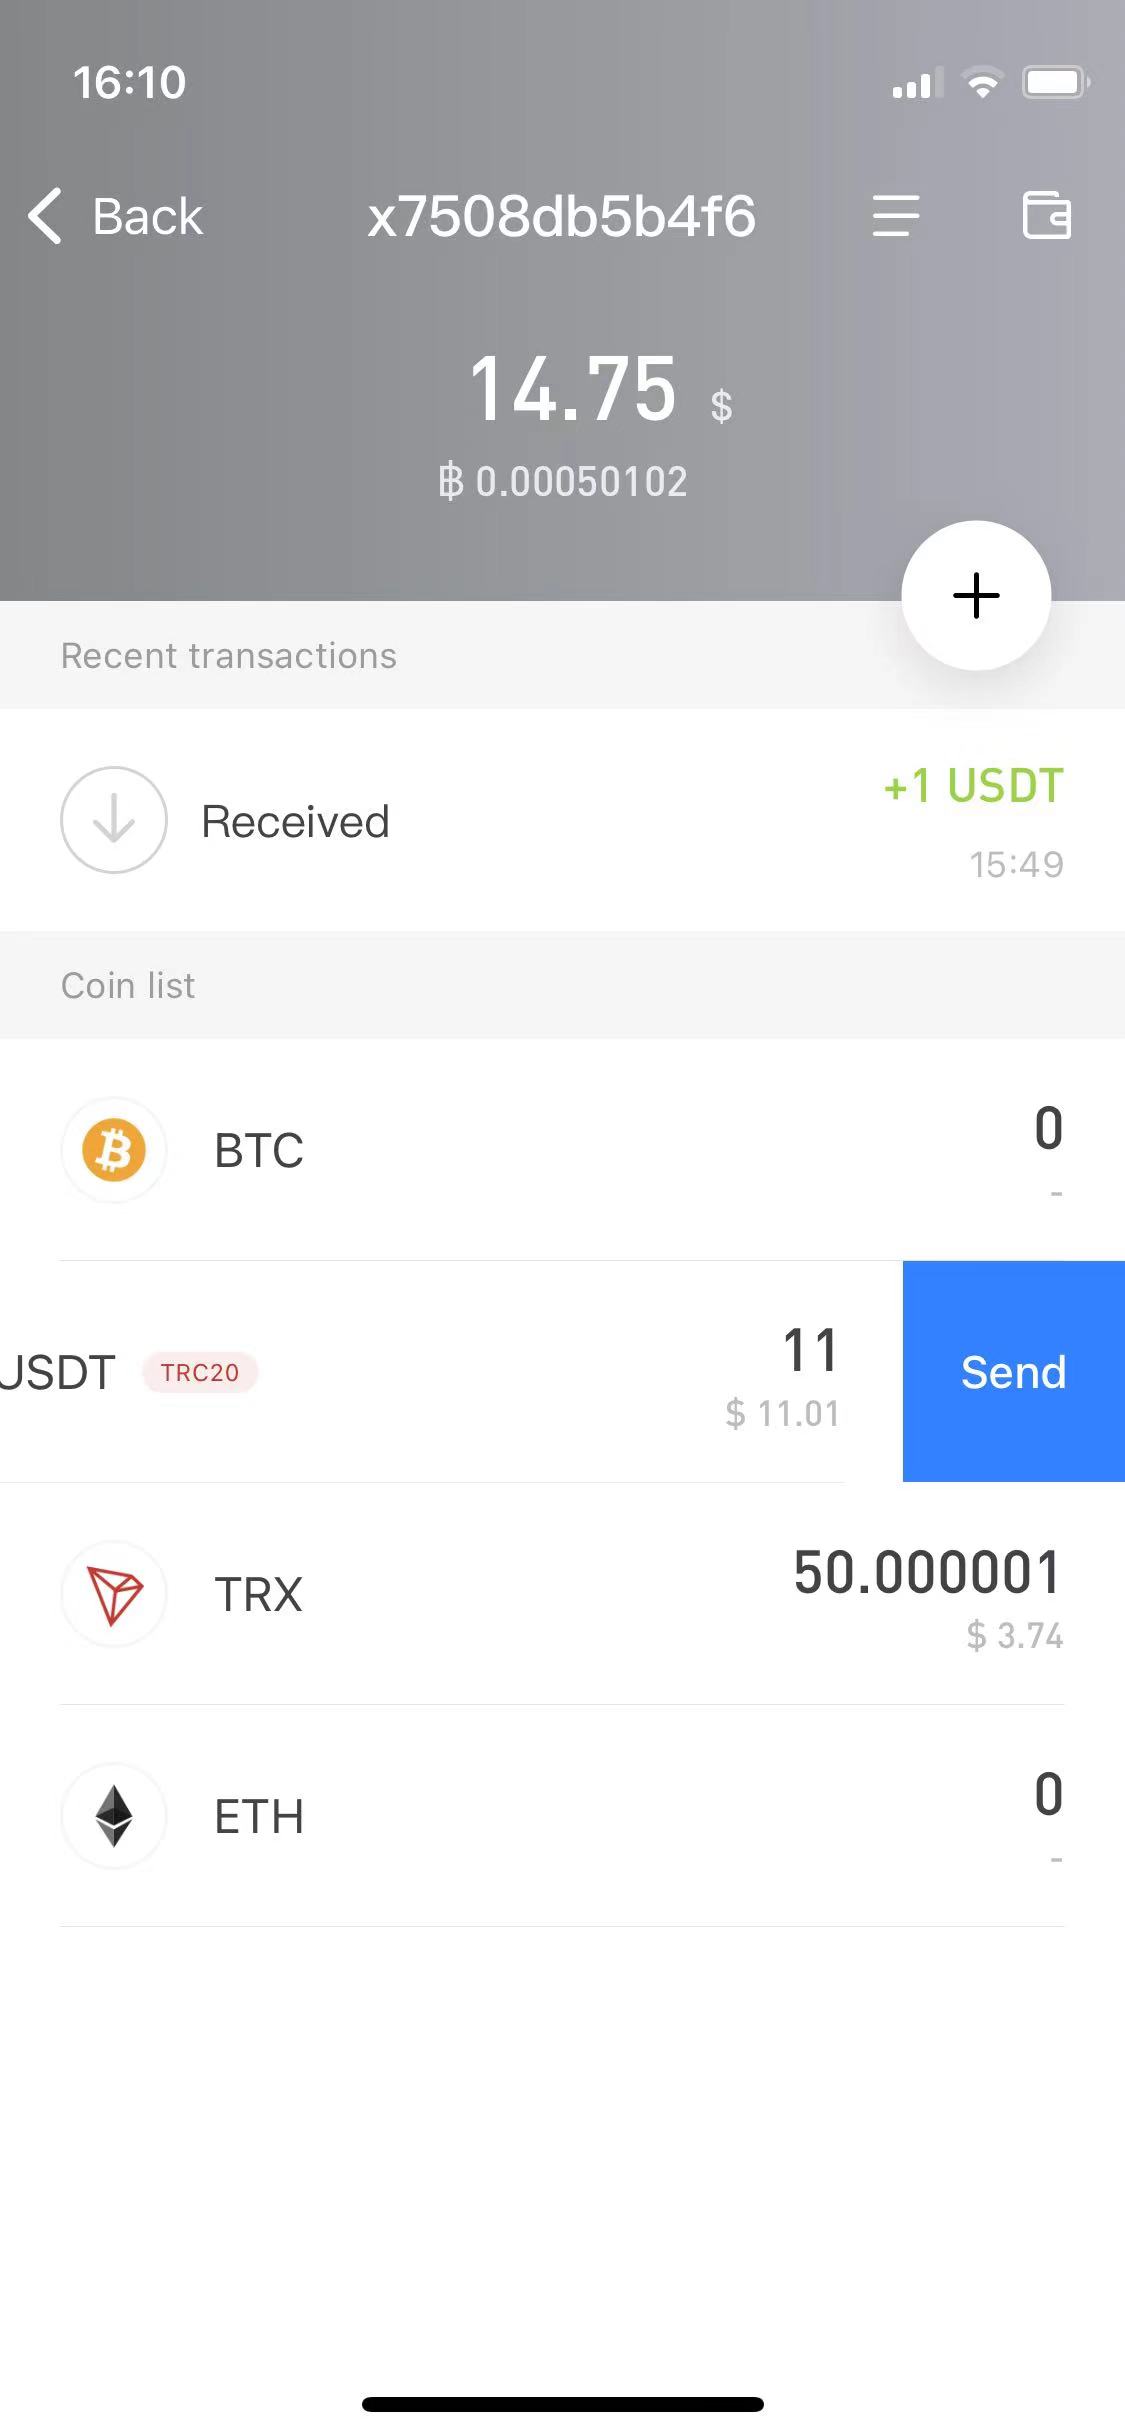
When sending transactions, initiate the transaction on the Watch Wallet side, as shown below:
Enter the receive address, amount etc., as shown below:
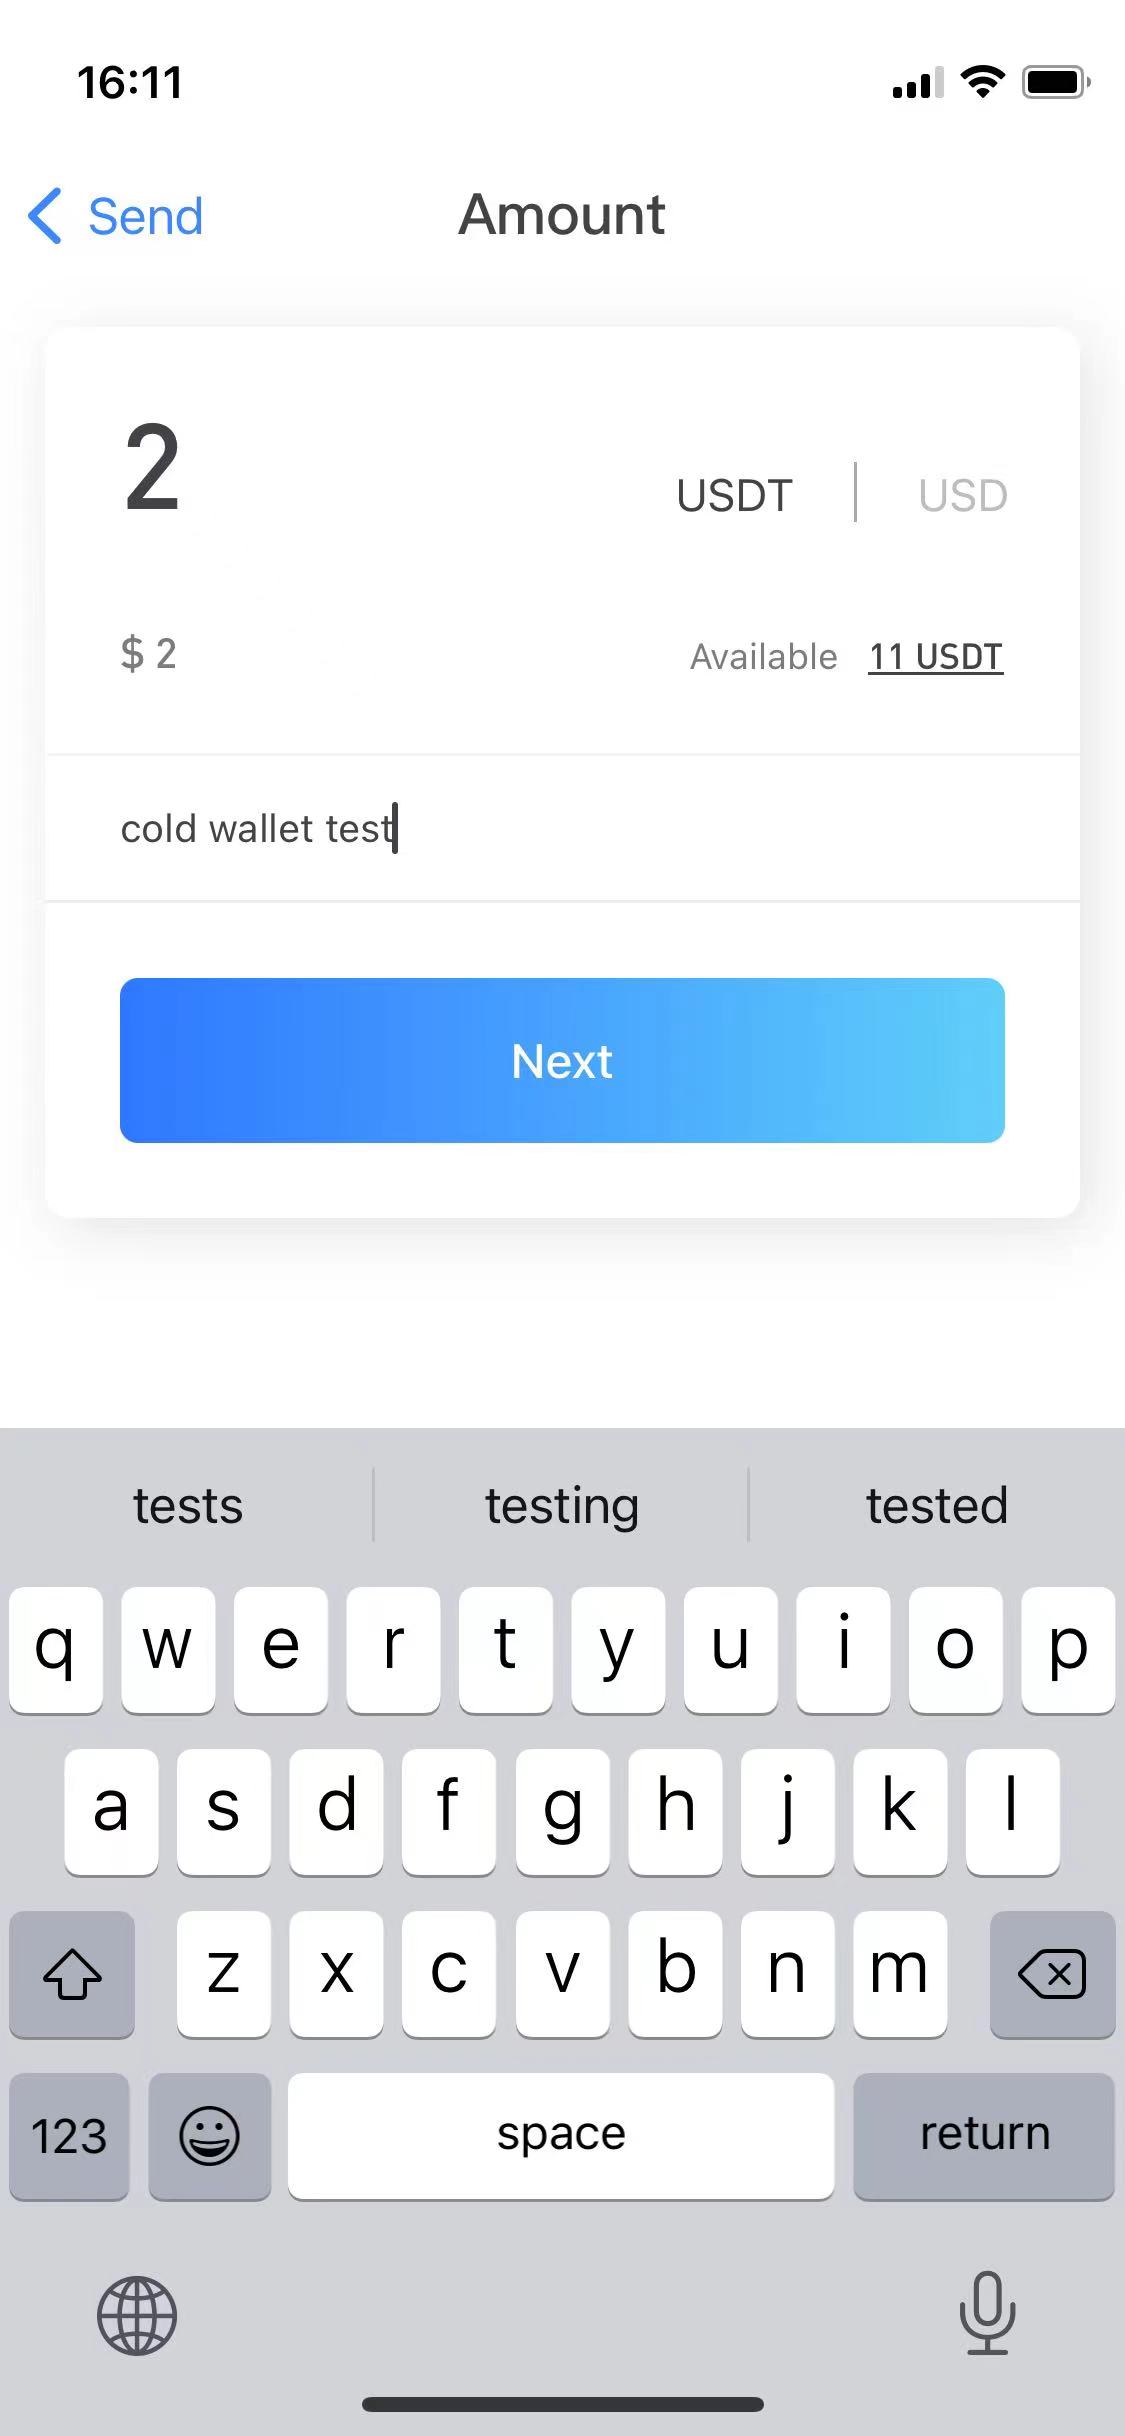
and confirm:

After clicking Send, the QR code to be signed will be displayed, as shown below:
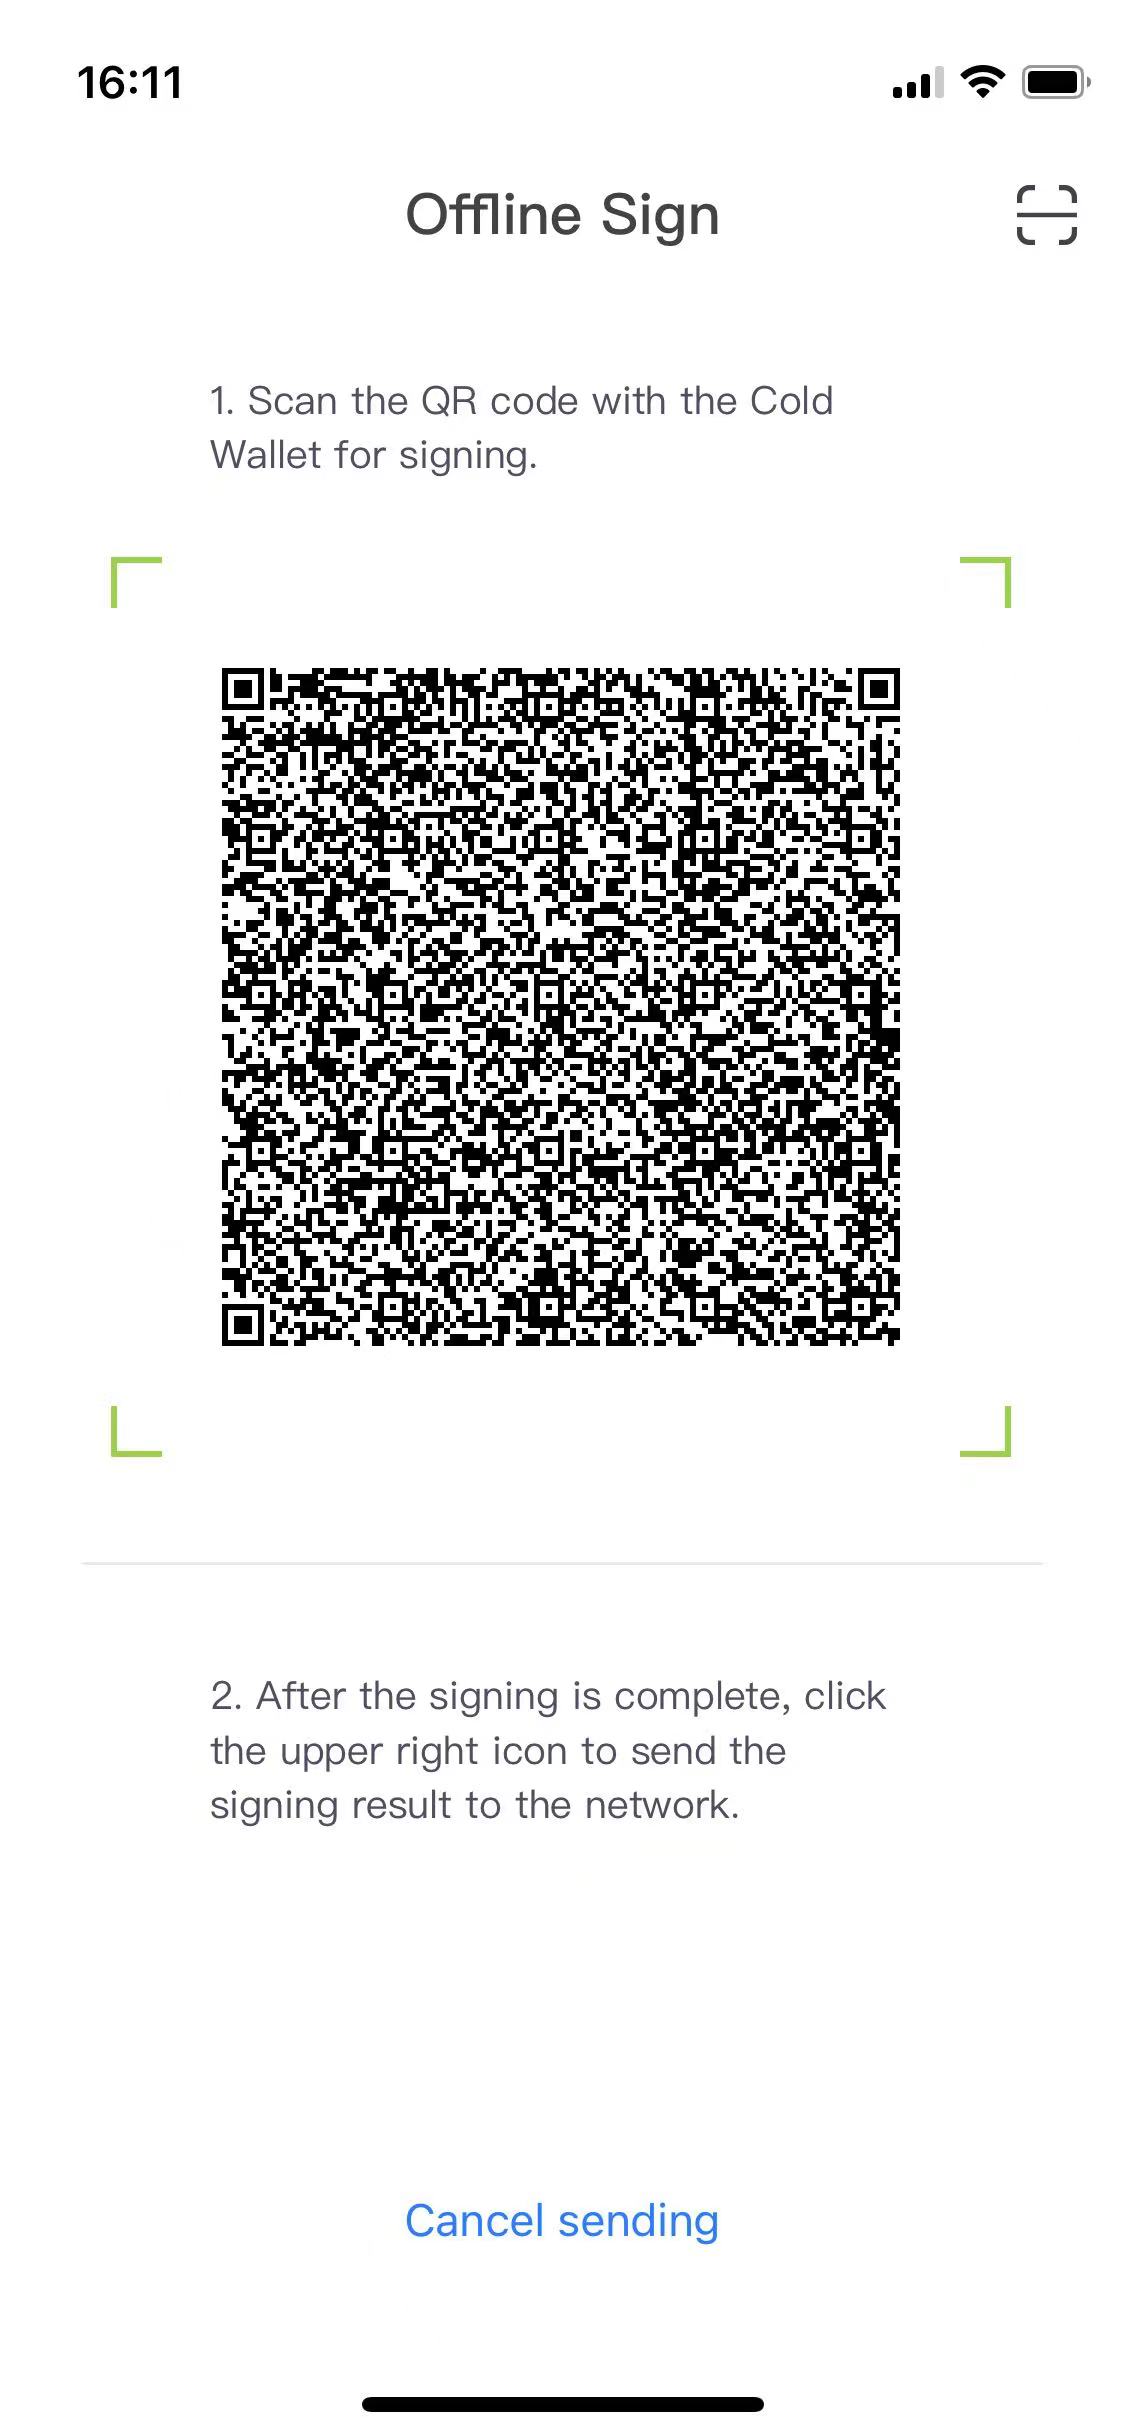
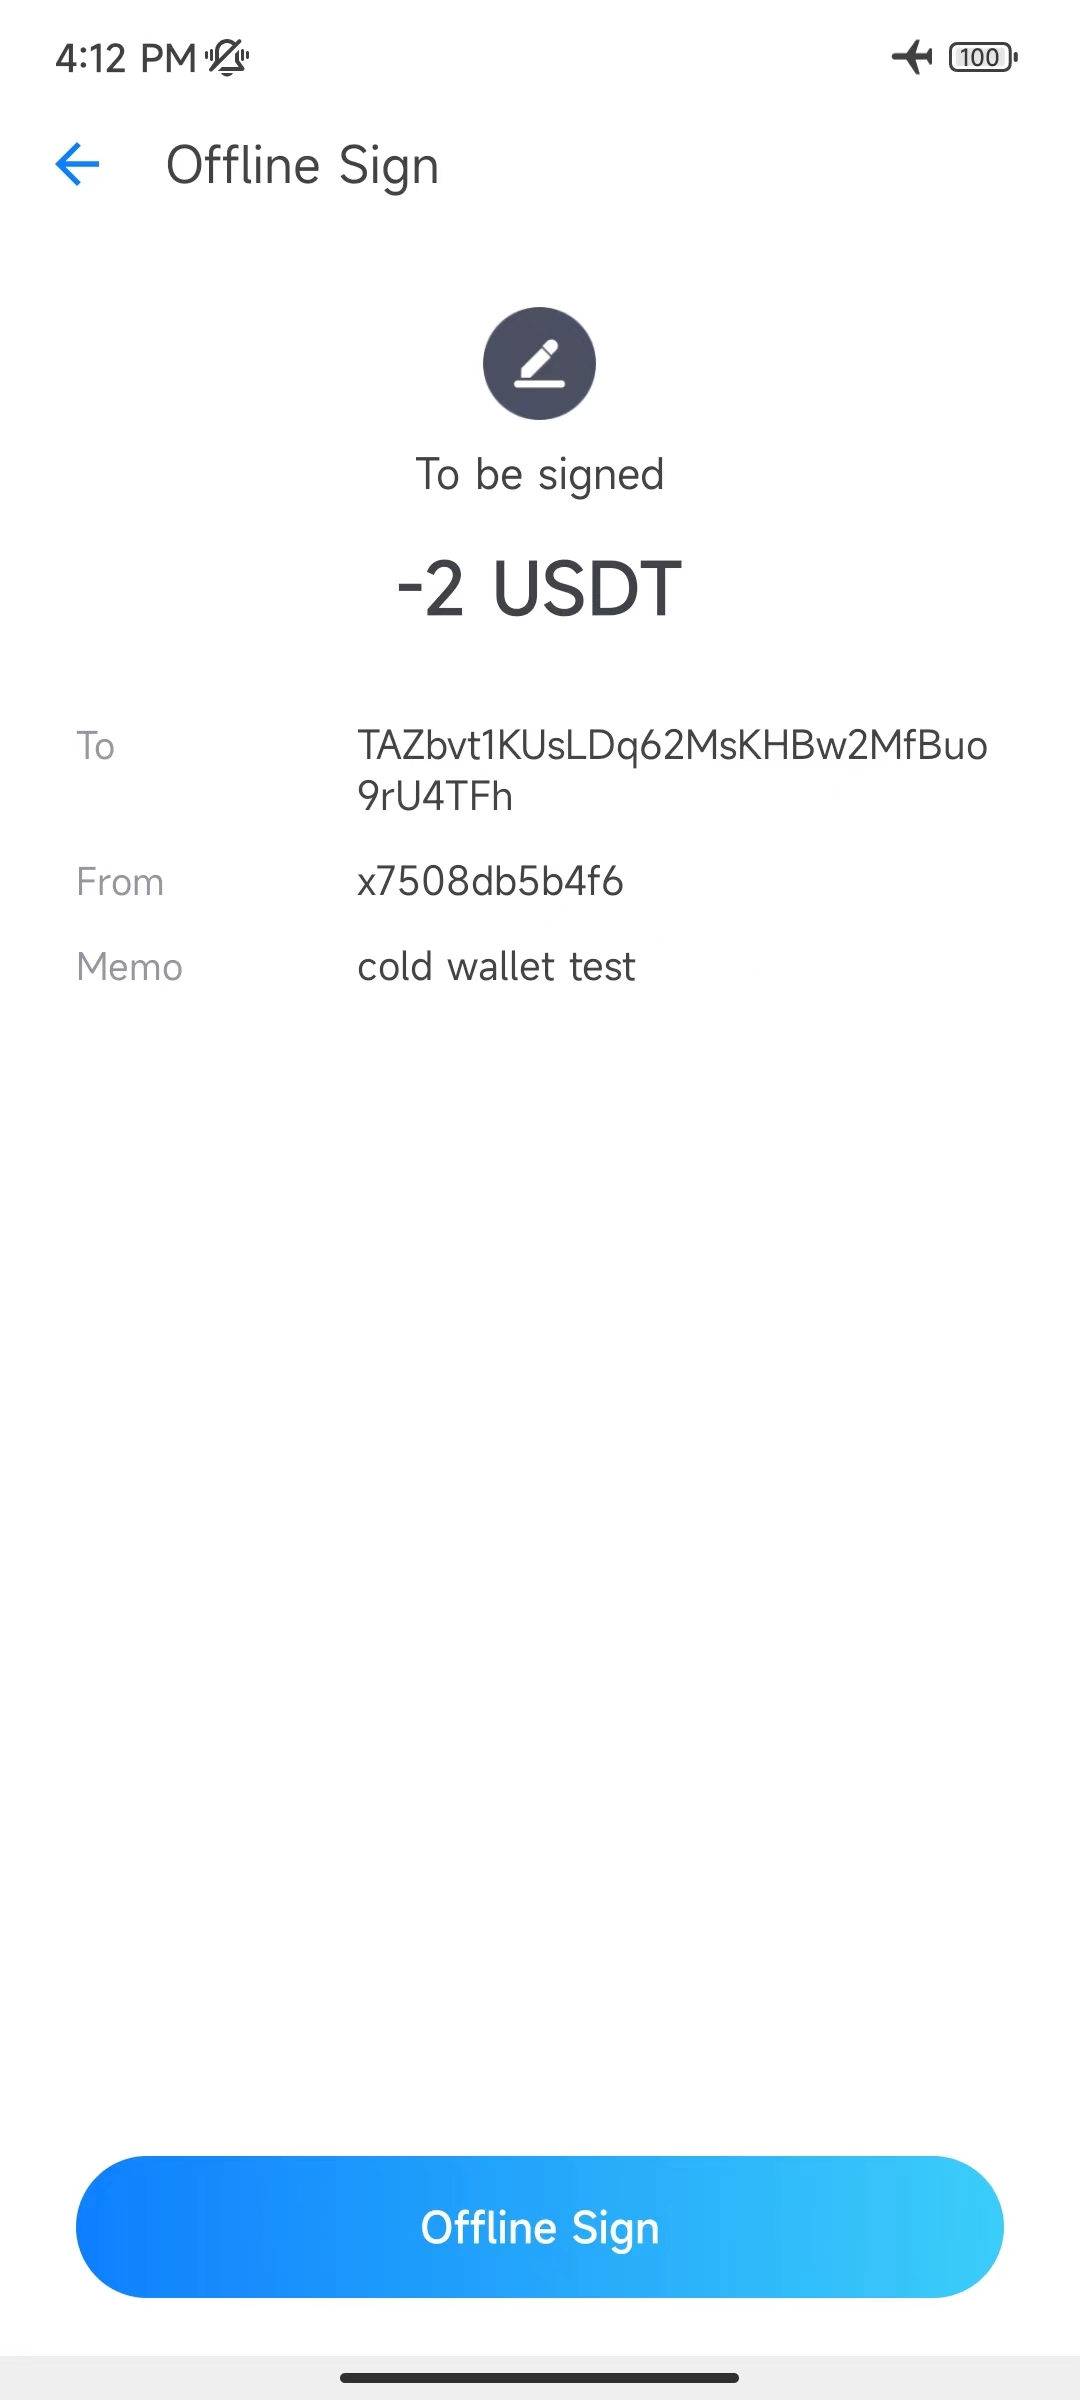
Now, use the mobile phone on Cold wallet side to scan the QR code:
It will enter the Cold wallet's offline sign page:
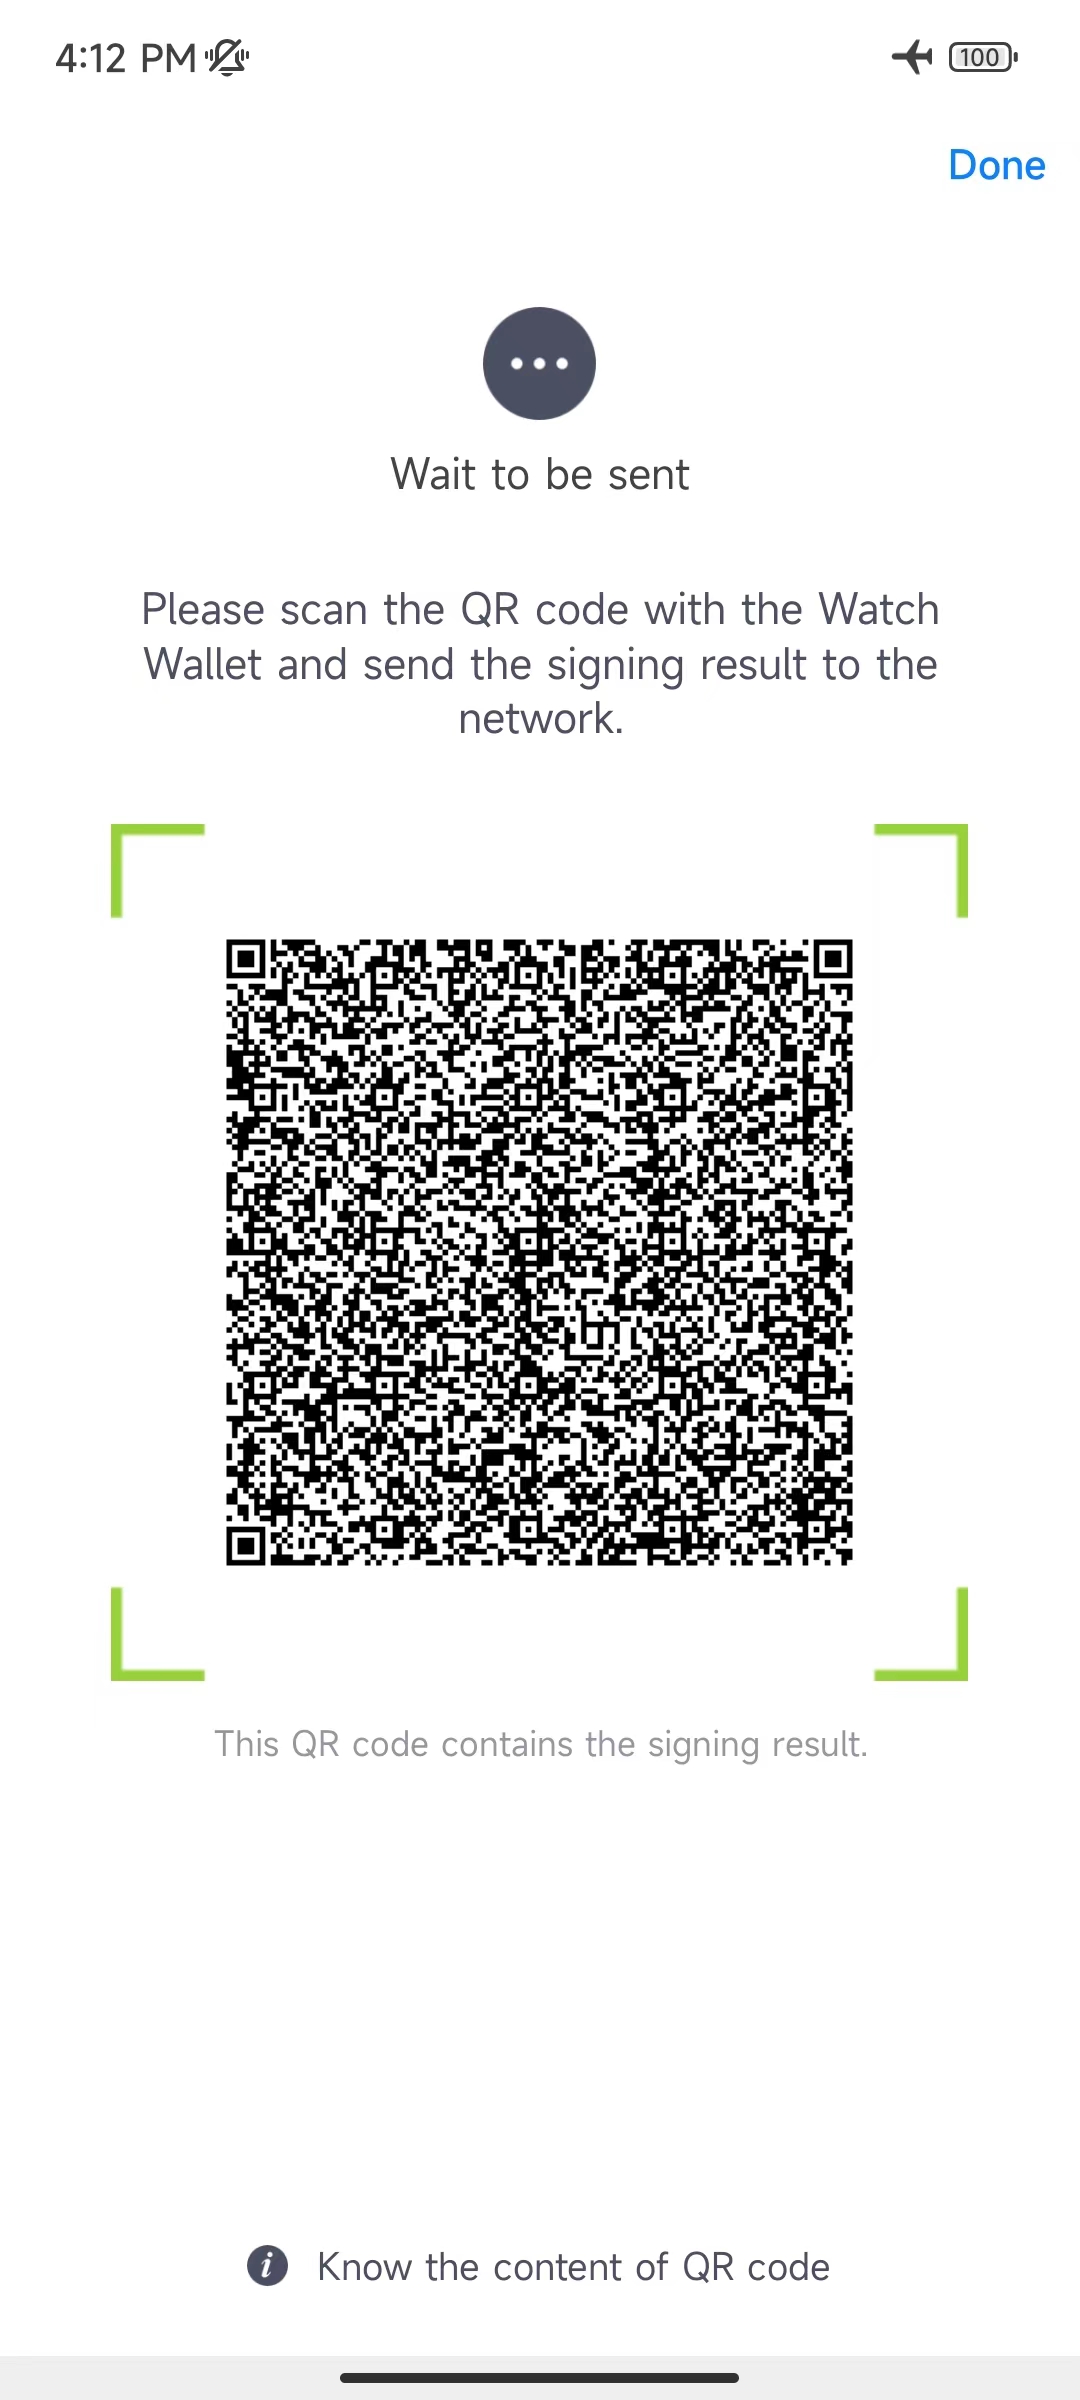
Enter the password of the Cold wallet, the QR code of the signature result will pop up, as shown below:
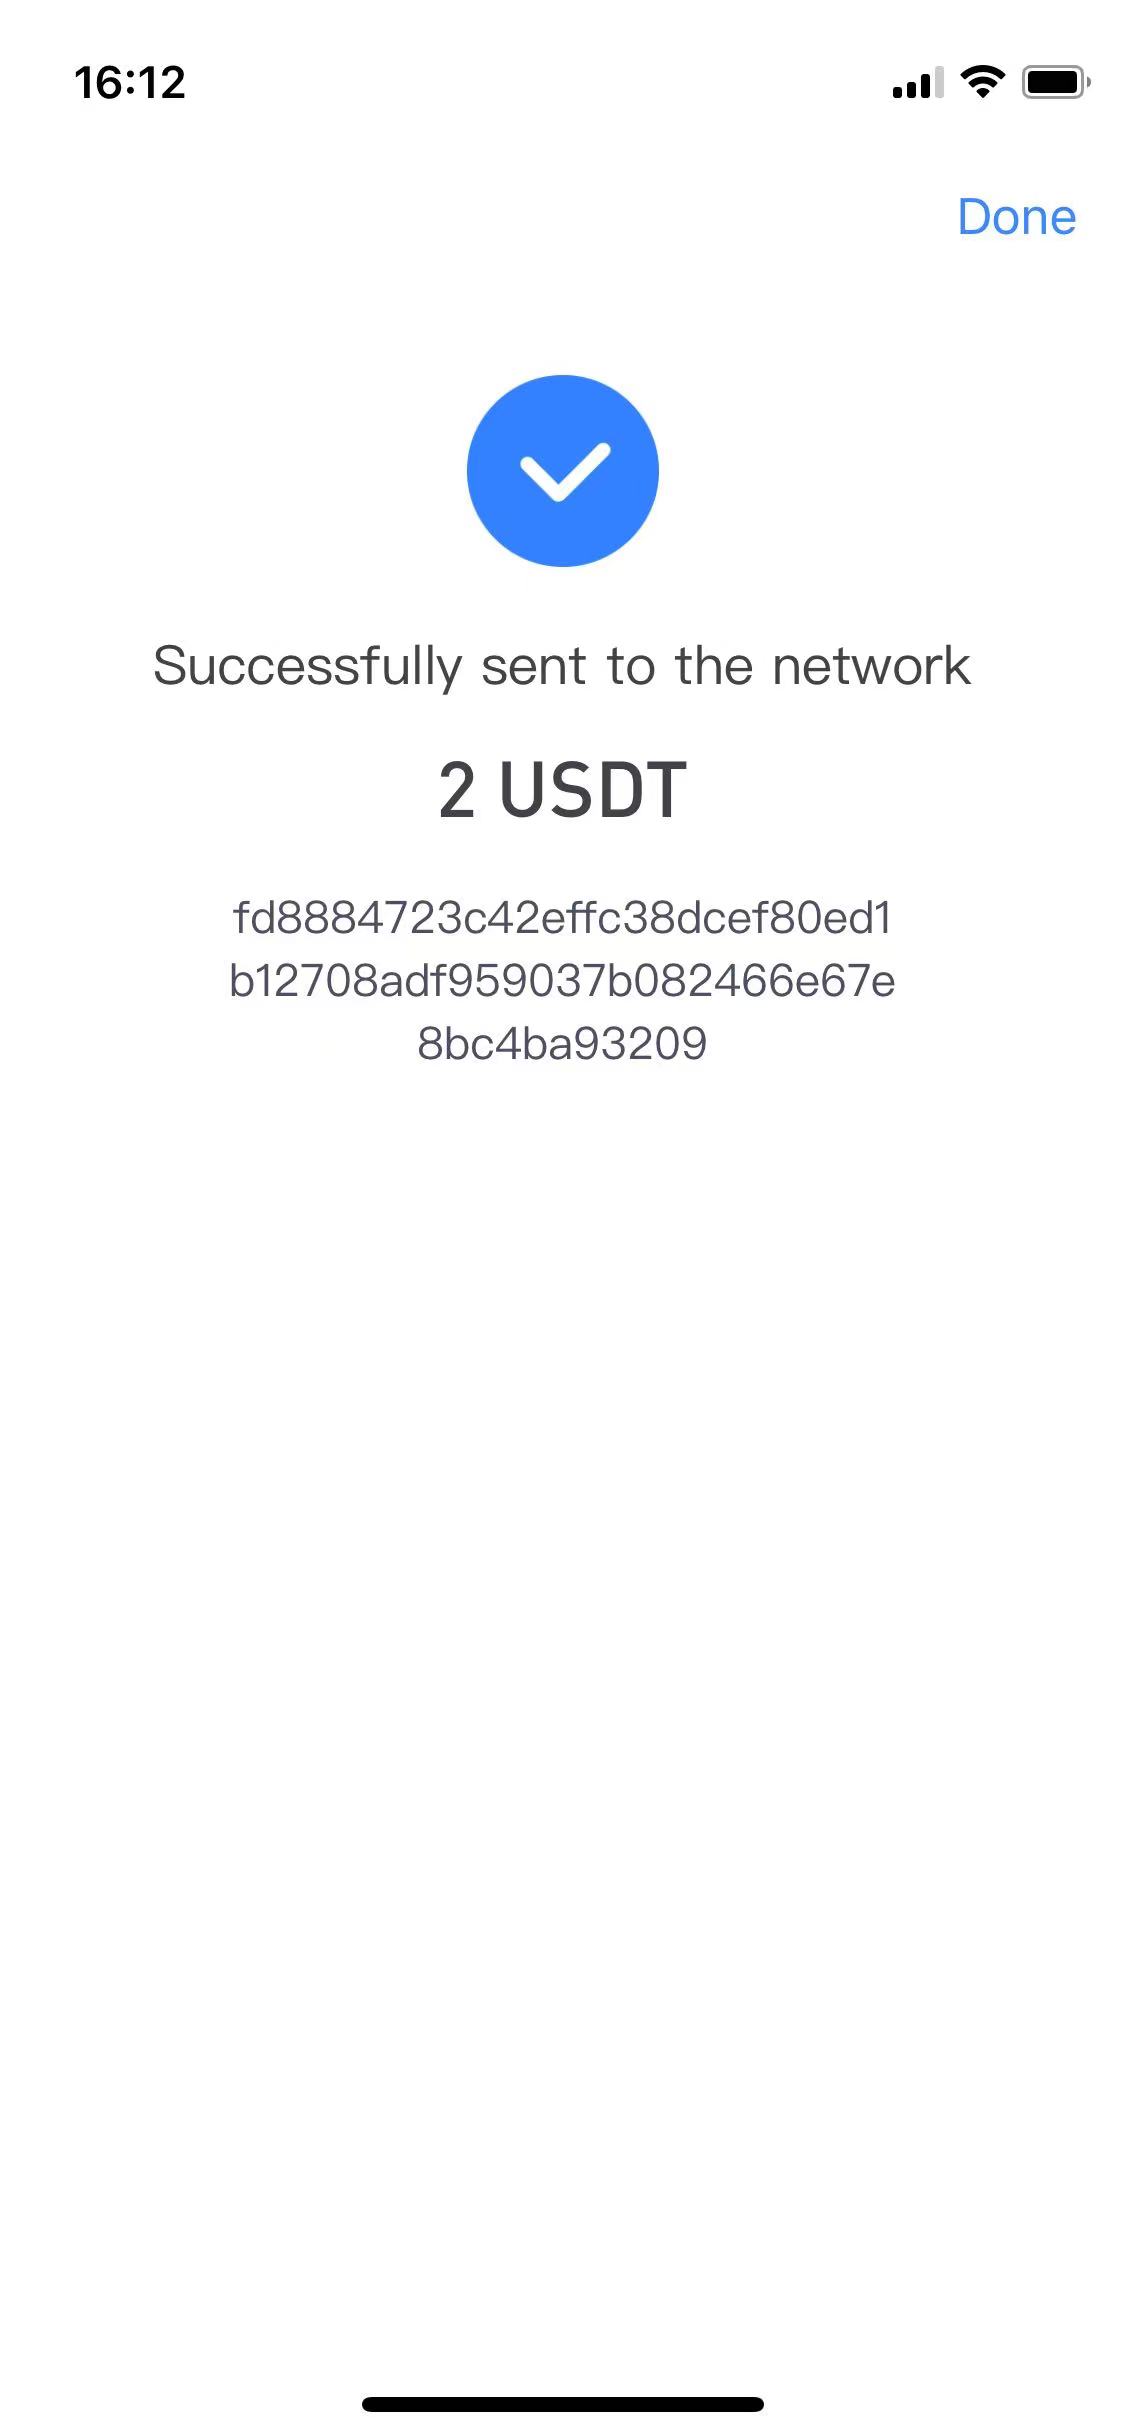
At this time, use the Watch Wallet mobile phone again, scan the above QR code, and broadcast the transaction to the network. After completion, it will show:
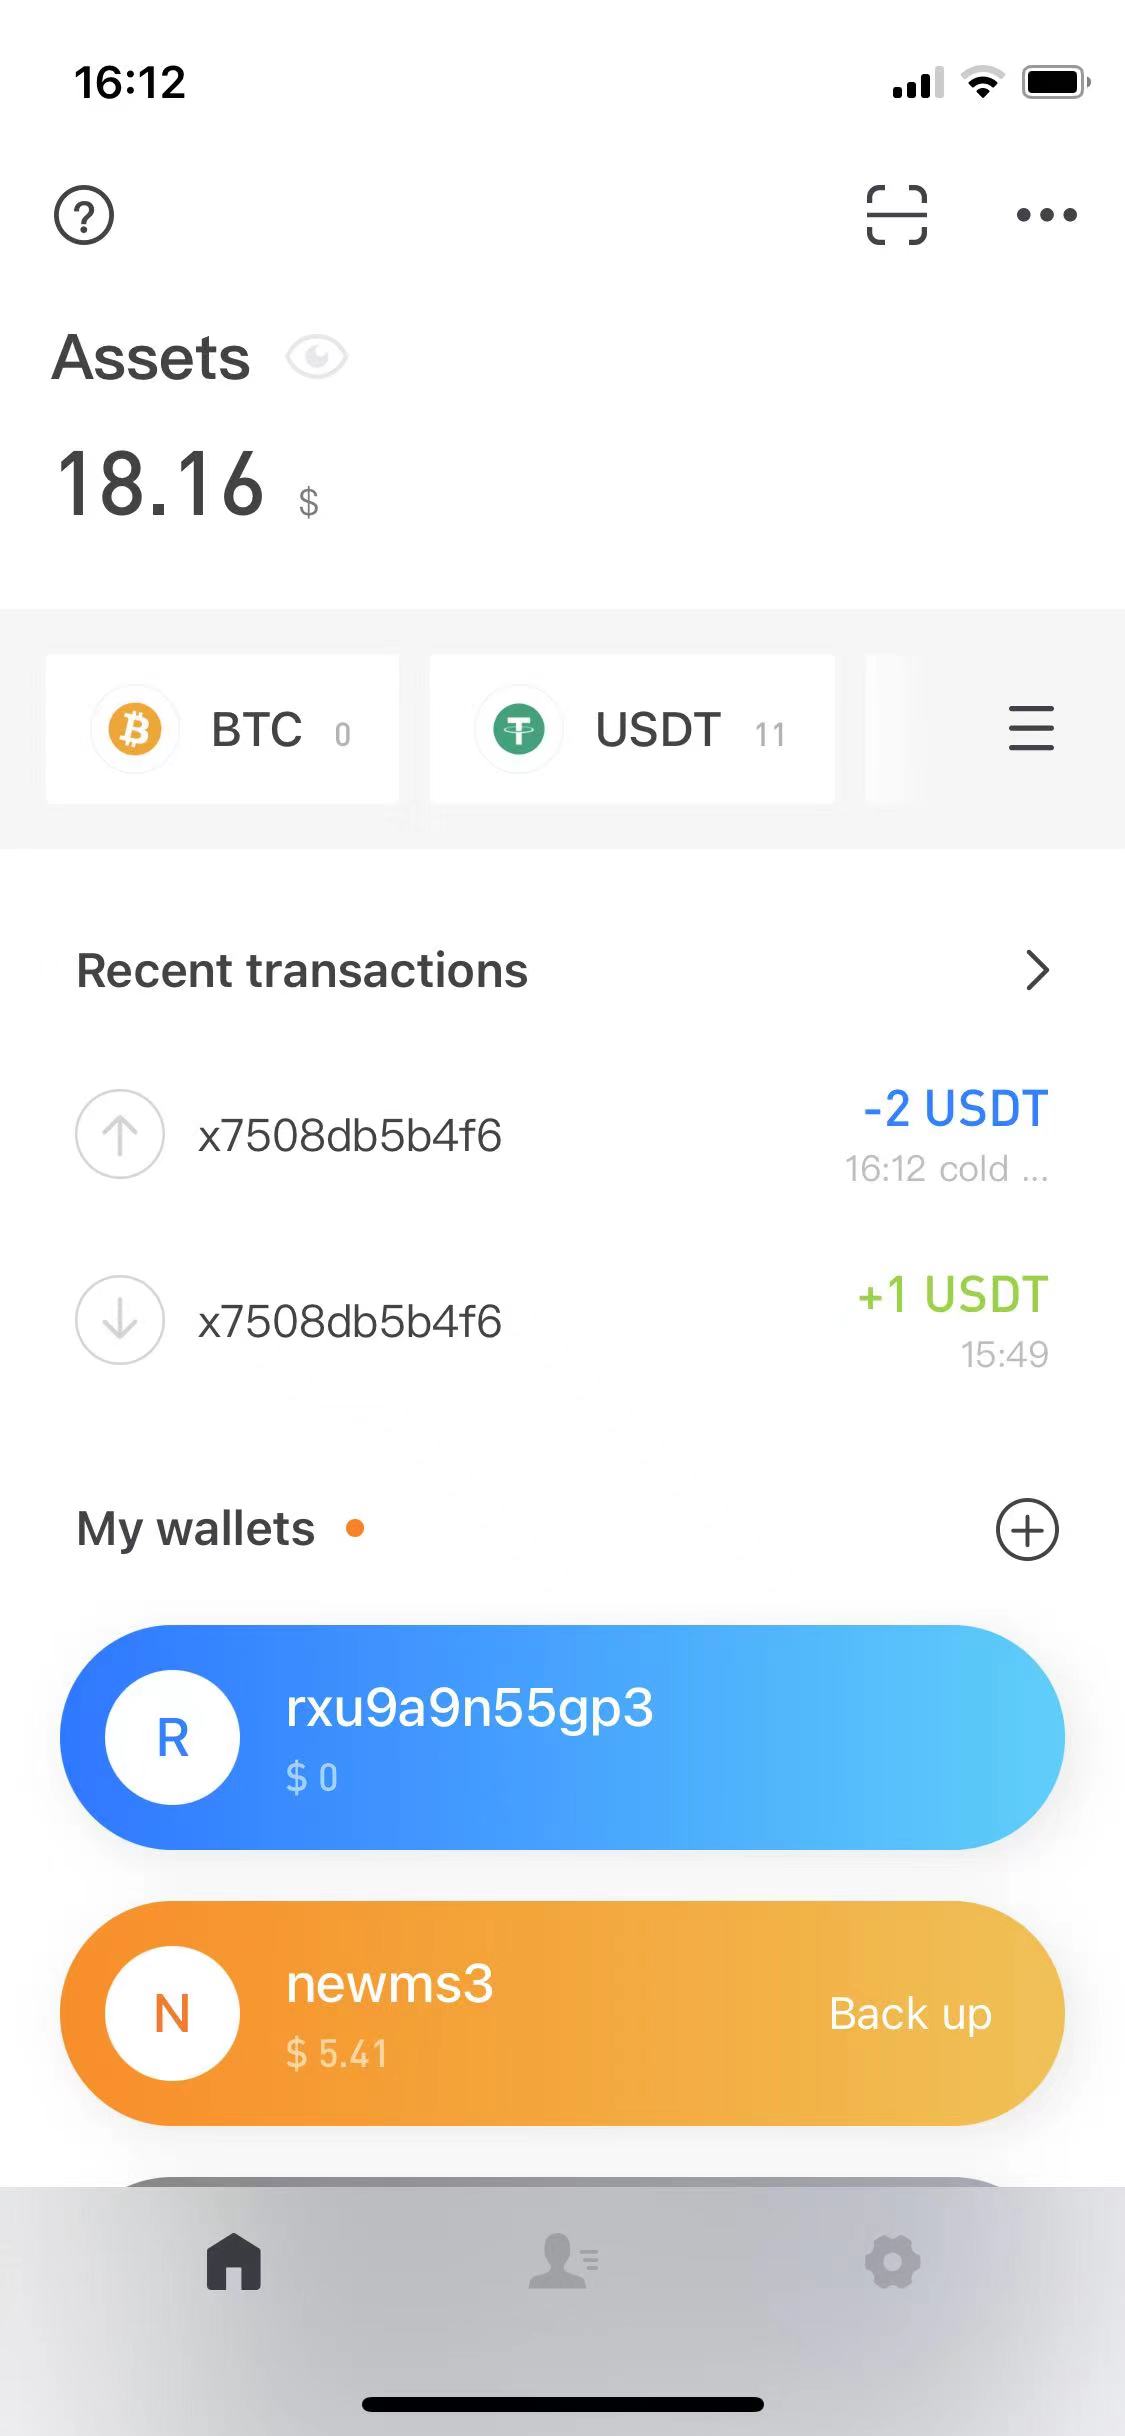
Enter the homepage of the Watch Wallet, you can see the information of related transactions:
Click to view the transaction details:
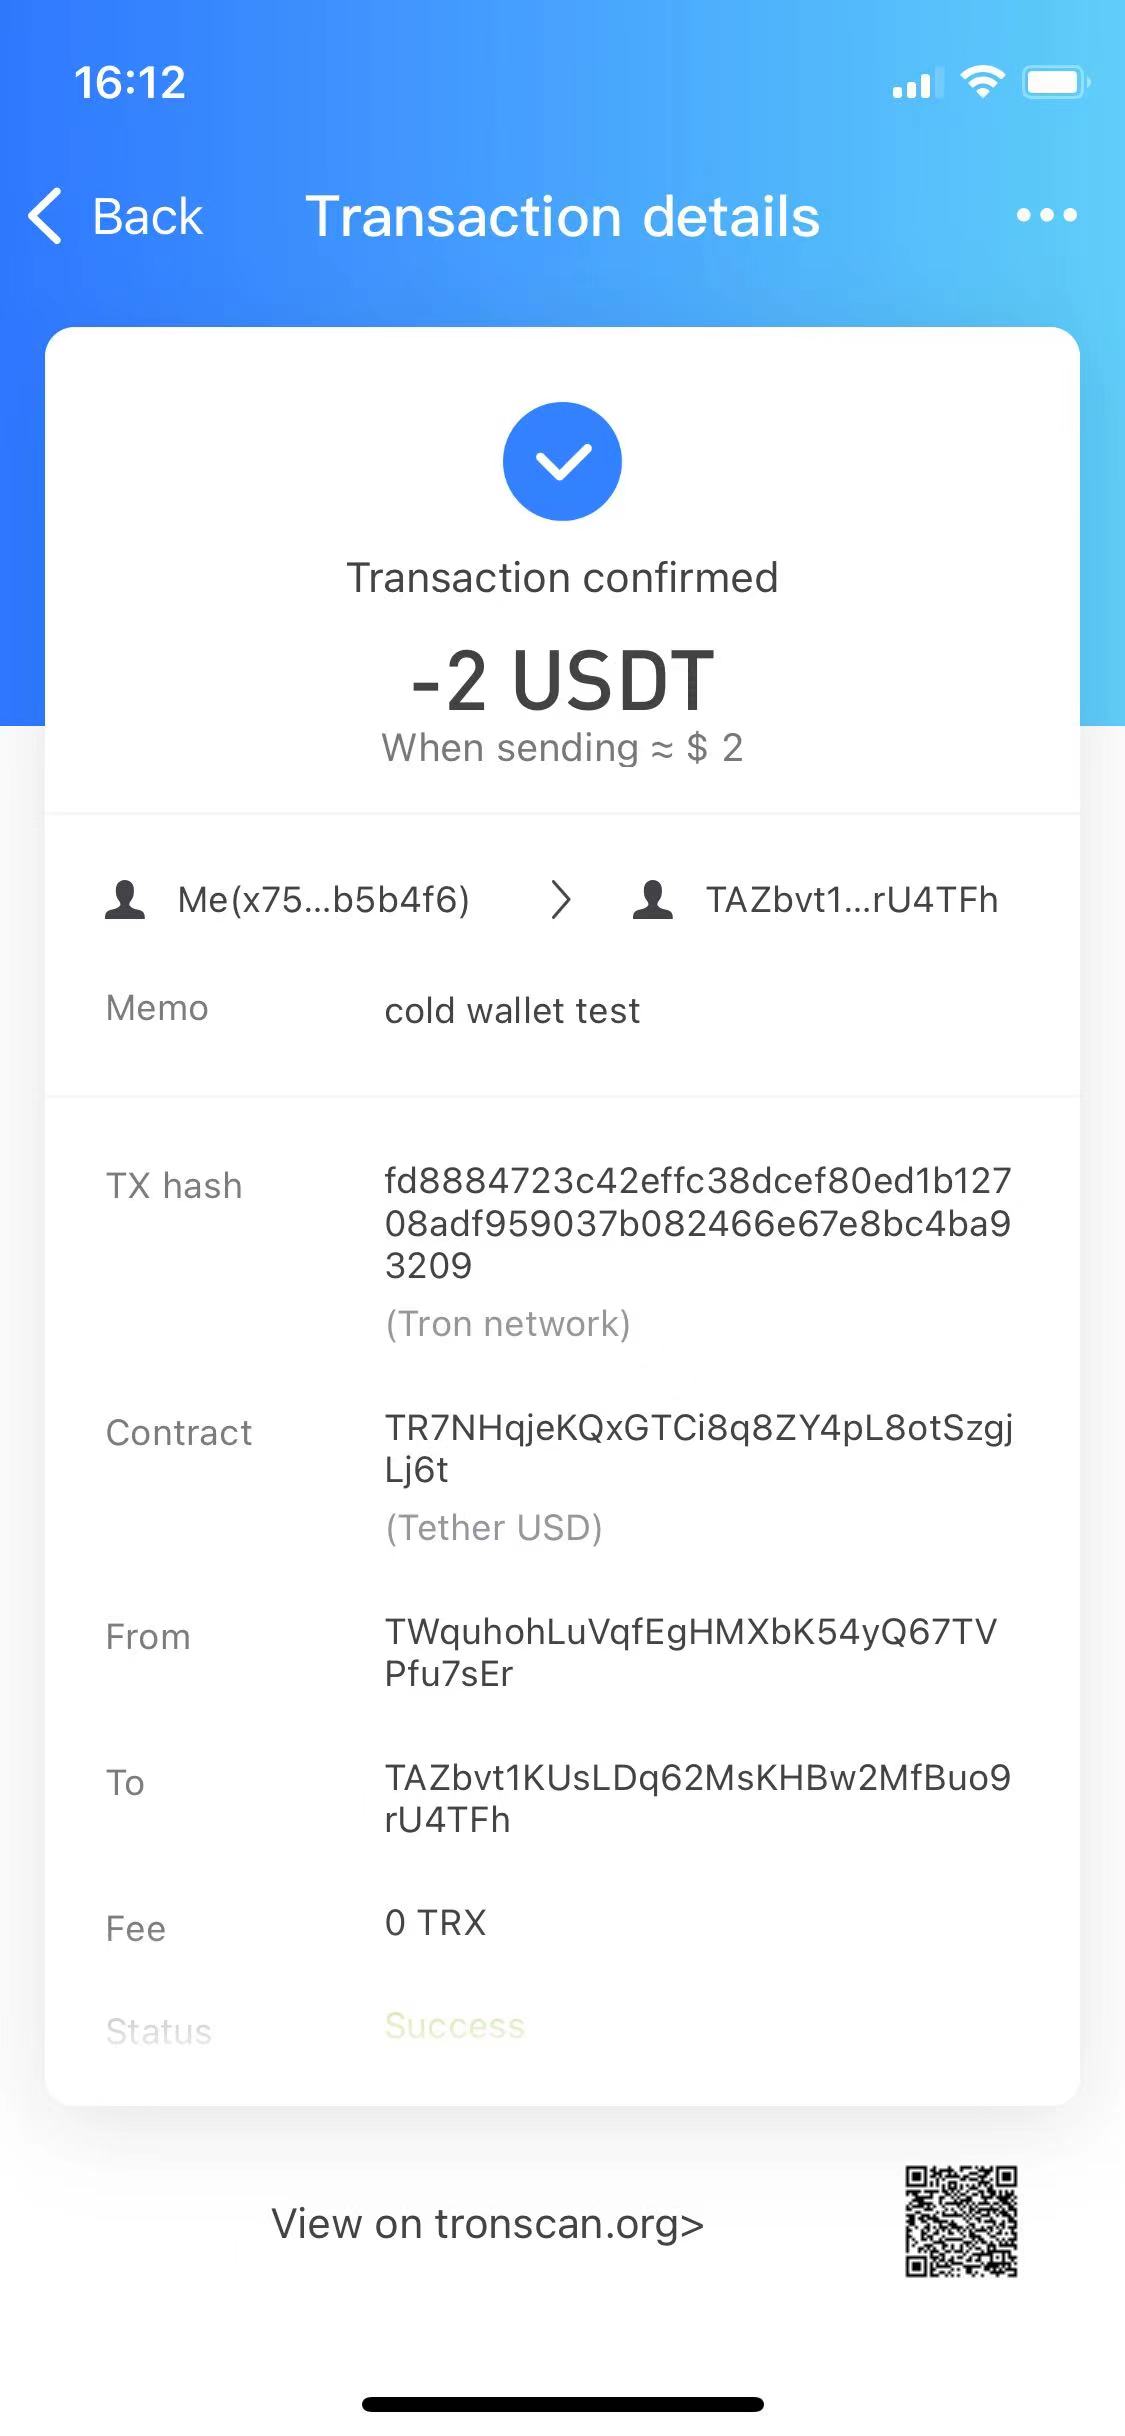
Since then, the transaction is been sent (the Cold wallet side is permanently offline, so no balance and transaction information can be seen). For the whole sending process, in summary, first uses the Watch Wallet to initiate the transaction, then uses the Cold wallet to sign the transaction, and finally uses the Watch Wallet again to broadcast the transaction to the network.
4. Common problems
a. The QR code is too large to be displayed or scanned:
When using some UTXO coins (such as BTC, DOGE, LTC, etc.) for sending, you may encounter the problem that the QR code is too large to be displayed or scanned. Usually, this is caused by the fact that the transaction selects too many UTXOs, so that the transaction volume (number of bytes) is too large. This can usually be solved by lowering the sending amount. Reducing the sending amount will allow the system to select fewer UTXOs for transaction assembly, thereby making the corresponding transaction QR code smaller.
In addition, you can also use "Customize UTXO" feature to select fewer UTXOs to send in the Send Confirmation page.
b. Problems with cold wallet upgrade:
Sometimes we need to upgrade the cold wallet in order to get the latest features. However, because the cold wallet side is permanently offline, it cannot be directly upgraded. The suggested method is: backup the mnemonic phrase (make sure that the mnemonic phrase has been safely backed up) -> delete the Ownbit App -> make the phone online and download the latest version of the Ownbit App -> disconnect the network, re-import the mnemonic phrase, and restore the cold wallet..